For decades, the car wax market was mostly stagnant. The car wax your parents used probably wasn’t much different than the wax you started using on your first car. But in the last few years, the market has seen a bit of a shift, thanks to the growing popularity of ceramic coating. Originally left to professionals and costing a pretty penny, consumers can now enjoy some of the benefits ceramic coating has to offer from their own garage. Of course it’s not the same as professional ceramic coating, but these “hybrid ceramic” waxes have done their part in shaking up the market.
Having tested several of the products that are currently available, it’s understandable if some car owners say they can’t really tell the difference between conventional carnauba wax and hybrid ceramic wax, or even this new wave of graphene-infused car waxes. Some of those advantages however, aren’t meant to be visible to the human eye and your car’s finish is better protected even if there’s no perceived benefit.
If you’re in the market for a new wax to keep your Porsche shining brilliantly, you’ve come to the right place. Here, we’ll go through our top picks of the best car waxes and explain what makes them stand out from the crowd.
1. Top pick: Meguiar’s Hybrid Ceramic Liquid Wax
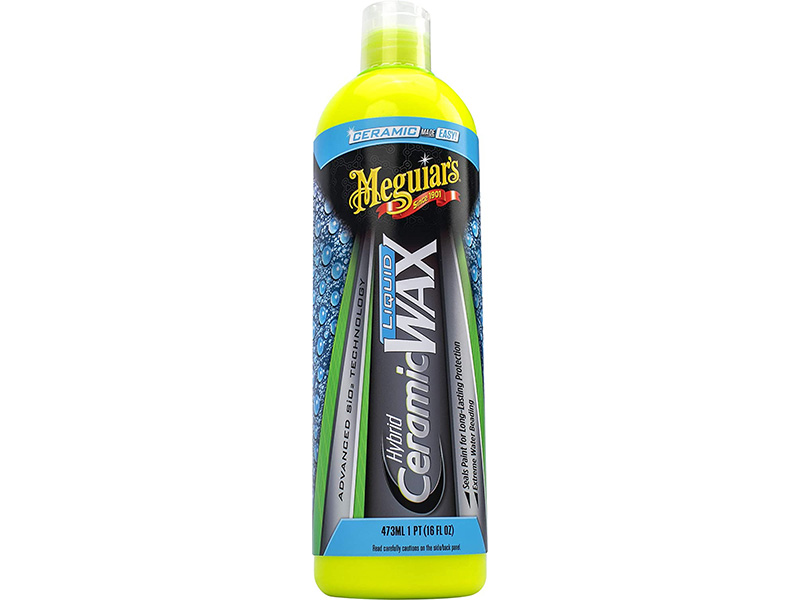
Meguiar’s is easily one of the most well-known brands in the car care industry, but that’s not the reason why we put its Hybrid Ceramic Liquid Wax at the top of our list of recommendations. I’ve been using this product since I was first introduced to its spray version at MPMC 2019 and even after trying several of its competitors, I’ve gone back to Meguiar’s. There are two main reasons why I prefer it over others: it’s easier to apply and it tends to last longer. That’s not to say that our other recommendations don’t perform better, but for my personal use case, this is what I prefer.
Now, if you have a dual action polisher or random orbital buffer in your garage and don’t dread the idea of giving your car a coat of wax, then you may want to consider our next option. But for the person who only wants to wax their car every few months and don’t want to spend half the day doing it, the performance and protection Meguiar’s Hybrid Ceramic Wax has to offer is tough to beat, especially for the price.
Featuring SiO2 hybrid technology, this wax will seal your paint and protect it from harmful UV rays, bird droppings, road grime, and more. If you live anywhere that experiences a lot of rain, you’ll see how quickly the water beads up off the surface, trickling away before it can leave behind water spots. This wax is ideal for car owners who want something that’s easy to apply with great protection, and will last a few of months—longer, if you use spray waxes after washing your car in between applying a coat of wax.
Check Price on Walmart
Check Price on eBay
2. Runner-up: Chemical Guys HydroSlick HyperWax
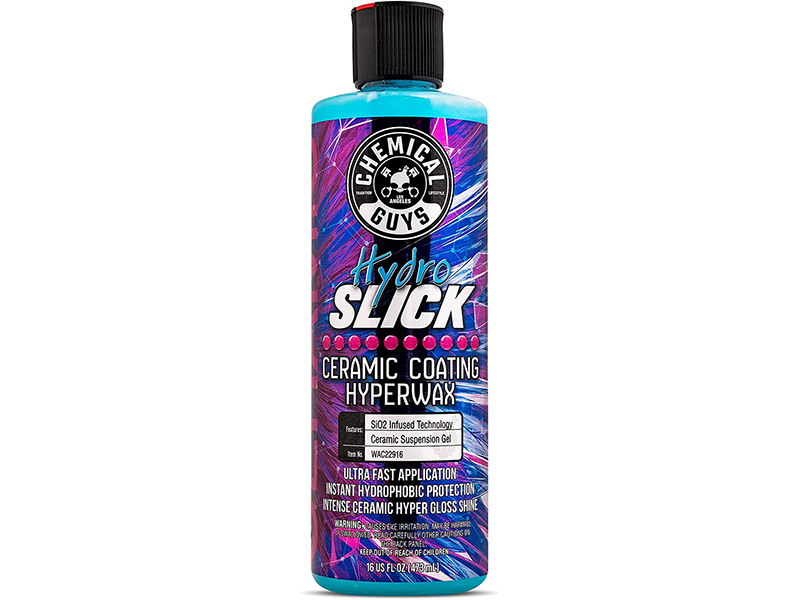
You’ll probably know that I am a huge fan of products from Chemical Guys, if you’ve read any of my other content related to car care products on this site. Its HydroSlick HyperWax is similar to Meguiar’s Hybrid Ceramic Wax in that it’s an SiO2-infused formula to give you some of the benefits found in ceramic coating. The term HyperWax is mostly marketing jargon, as Chemical Guys describes it as combining the ease of use, shine, depth, and clarity of a wax with the longevity, beading, and slickness of a ceramic coating.
This recommendation is a gel formulation that Chemical Guys says is the first-ever SiO2 ceramic suspension gel. Like ceramic coating, it leaves behind a layer of protection that can last for up to one year, although we don’t recommend going that long in between coats of wax depending on where you live and how often your car is parked outdoors. The gel formula is interesting and is easy to apply, but I personally still find the Meguiar’s Hybrid Ceramic Wax easier to use. Regardless of whether you choose this product or our top pick, we think you’ll be happy with the results.
Check Price on Chemical Guys
Check Price on Walmart
Check Price on eBay
3. Graphene option: Turtle Wax Hybrid Solutions Ceramic + Graphene Paste Wax
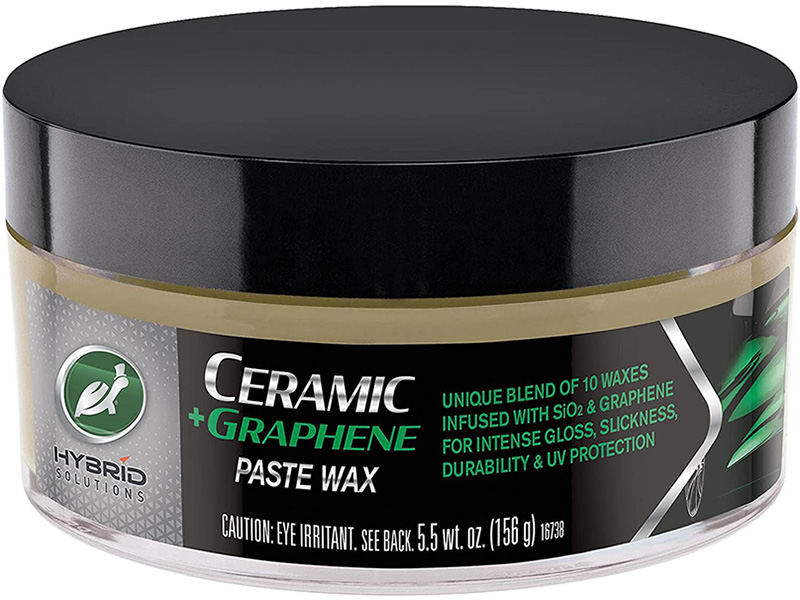
Graphene has become the latest popular buzzword in the car detailing industry and while most major brands haven’t adopted it, there are a few. Adam’s Polishes offers a graphene ceramic coating you can apply at home, as well as a spray coating, but not a traditional wax application like this Turtle Wax recommendation. The verdict is still out on whether graphene really has significant benefits, but if you’re willing to give it a shot, this is what we recommend.
As its name suggests, this is a wax that contains ceramic and patent-pending graphene technologies to deliver better protection than ceramic alone. The company says the combined benefits include “incredible gloss, slickness, water repellency, chemical resistance along with heat dissipation for increased UV protection.”
Again, we believe it’s too early to tell if graphene products have a noticeable or significant benefit over other waxes, but if you want to give it a shot, please let us know your results in the comments!
Check Price on Walmart
Check Price on eBay
4. Carnauba option: Adam’s Buttery Wax
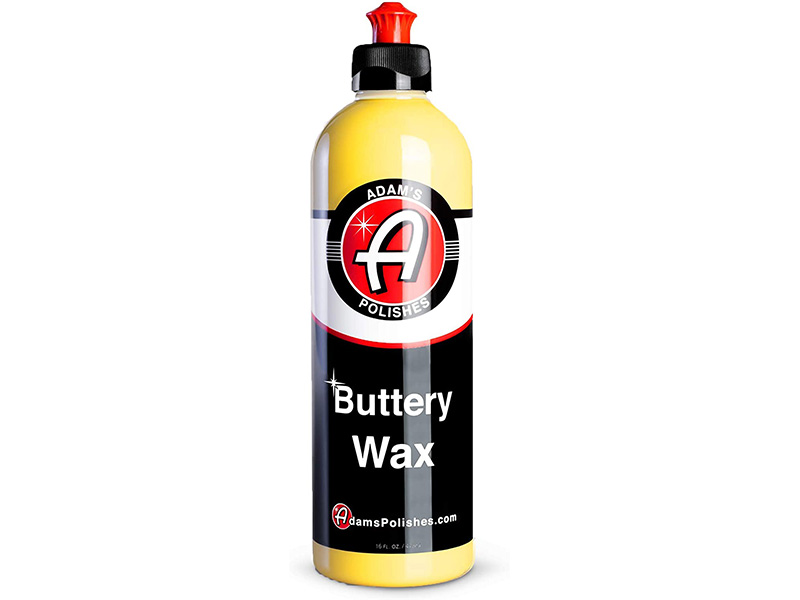
It’s also fair if you don’t buy into the hype of ceramic coating. If you’re shopping for a good ‘ol fashioned carnauba wax, Buttery Wax from Adam’s Polishes is our recommendation. I actually use this product from time to time as it’s surprisingly easy to apply and buff off by hand. It’s formulated with an advanced blend of polymers and high-grade liquid carnauba waxes, and if you know anything about Adam’s Polishes and its products, you know they’re good.
This is an ideal recommendation for someone who wants a product that’s made in the U.S., is easy to apply, and don’t believe in the benefits of hybrid ceramic waxes or even graphene. Sometimes simpler is just better.
Check Price on eBay
5. Honorable mention: Zymöl Cleaner Wax
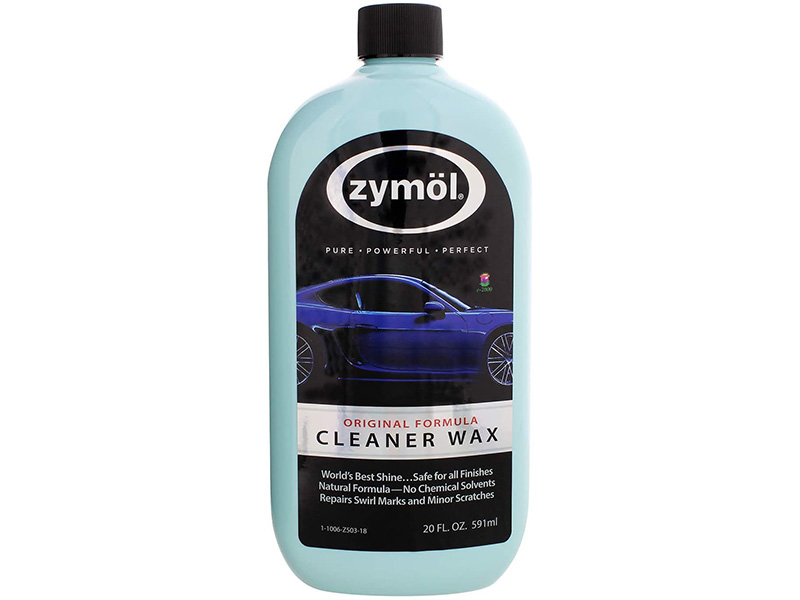
There was a time when the Zymöl brand was synonymous with high-end detailing and car care. And while it’s still a very well-respected brand, it’s not as popular in the U.S. as staples like Meguiar’s, Chemical Guys, and Adam’s Polishes. Still, it’s great quality stuff and many detailers still stick to the brand to this day. Its original formula cleaner wax is derived from a 120-year-old German formula made with ingredients from nature. Since it is a natural formula, it contains no harsh chemical solvents.
I personally haven’t used this wax in over 10 years, but it used to be one of my favorites. It’s a bit more expensive than other waxes on the market, but it is worth a mention if you’ve heard of the Zymöl brand and used its products in the past with positive results.
Check Price on Walmart
Check Price on eBay
How do I wax my car?
If you asked 10 different professional detailers the proper way to wax a car, you might possibly get 10 different answers. Everyone has their own preference on how to properly wax a car, but there are a few rules that most every detailer would agree on. So instead of giving you deeply detailed steps, we’re going to outline recommendations that we think everyone should follow when waxing a car.
Start by giving your car a proper wash and dry it thoroughly. If the surface of your car feels particularly rough, you may want to use a clay bar before applying a coat of wax. Before you begin, read the included instructions with your preferred wax as some should only be applied in the shade and on a cool surface. We generally recommend that you always wax your car in the shade if you can, but if you can’t, make sure you get a product that says it can be applied in the sun.
If you’re not using an orbital buffer, put the wax on a foam pad and apply it with a small, circular motion to a section of your vehicle. Always work on areas of your car separately, this way you don’t let the wax sit for too long. If if stays dry for too long, it can be really difficult to remove—although it won’t damage your paint or anything. You don’t have to use a ton of wax for each section of your car, just enough for a thin layer where you can still see the paint color of your car. Once it dries after a couple minutes, you can remove it with a soft microfiber cloth.
These are pretty general steps, and your specific wax may include some caveats. Just make sure you read the instructions and do it in the shade if you can, on a cool surface.
How often should I wax my car?
Here’s another question where you’ll probably get different answers based on who you ask. If you ask us, we believe it depends on several factors. For starters, how often is your car outdoors? Do you experience a lot of rain or snow? How often are you washing your car? All of these contribute to determining how often you should wax your car. If you generally take good care of your car and wash it every week or two and park it inside a garage every night, you can probably just wax your car once every three months. If you live in a harsh environment and your car often endures the elements, you may want to wax as often as every eight weeks. Our general rule? Feel the surface of your car. If it’s rough, it’s time to give it a coat of wax. Meguiar’s recommends waxing your car three to four times a year.
How long does car wax last?
The answer to this question is obviously largely dependent on the quality of the wax you are using. But again, the environment plays a major role on how long a coat of wax protects your car, and how often you are caring for it. There is no one answer to this question we can give, and we don’t even feel comfortable giving you an approximation because of all the variables involved. Instead, we’ll give you the same advice as before: check the surface of your car. If it feels nice and smooth, then your wax is doing its job. If the surface of your car feels rough, it’s time to wax.
What type of towel is best to remove car wax?
We recommend a high quality microfiber towel to remove wax. There are plenty to choose from online, but I’m personally a fan of these towels from Chemical Guys.
Is liquid wax easier to apply and remove than paste wax?
Yes! Liquid wax is generally much easier to apply and buff off than paste wax since it creates less resistance during application. But that also means you might not have consistent results as you apply the wax throughout your car. Paste wax on the other hand is easier to apply consistently since it spreads more evenly. Still, I prefer liquid wax because it requires less effort overall, just make sure you apply it consistently across your car’s body.
Does a vinyl wrap need to be waxed?
If you have a full car wrap using vinyl, you should not apply wax on that vinyl. In fact, in 3M’s “Caring for Your Vehicle Graphics” documentation, the company specifically says not to use wax or similar coatings on vehicle graphics. Doing so can actually damage the vinyl. 3M is one of the leading manufacturers for vehicle wrap material, so it’s a good idea to follow its advice.
Outside resources
Recent updates
Updated (8:24 p.m. EDT, 02/08/2023): Added ebay shopping links to our recommendations. Our top picks remain unchanged.
Updated (5:10 p.m. EDT, 10/05/2022): Added additional information based on questions from our readers along with links to outside resources so you can learn more about proper car wax and care.
Updated (2:15 p.m. EDT, 07/29/2022): Additional shopping links added to our recommendations.