We’ve been wrenching on “Project Boxster Clubsport” for quite a while now, and it just keeps getting better. We purchased the Porsche for a song, and have been slowly making some moves to drop the car’s weight and add a little more fun. So far, we’re really happy with what the Boxster has become, even though the motion of the project has been halted and restarted in new directions a couple of times now. It’s an excellent Porsche, and we aim to make it just a little bit more excellent with each improvement.
Part 2 – GT3-Style Center Console Delete
Part 3 – LED license plate lights
Part 6 – Emblem Delete and Paint Correction
Part 8 – Short Shift Kit Installation
Part 10 – Big Brakes, Spacers, and Wheel Studs
Part 11 – Wheels and Michelins
Part 14 – Interior Door Handle Update
Before we get started we would need to thank Michelin. As many of you know, Michelin is a long-time sponsor of FLATSIXES.com. Recently, they have generously offered to sponsor Project Boxster Clubsport as part of their involvement with our site. Please consider checking out what Michelin has to offer by clicking their banners on this page. Without Michelin’s support, and others like them, this site really wouldn’t be possible.
Part 15 – Suspension Renovation: Sway Bars
We’ve been really happy with the neutral handling and road holding that our stock Boxster has displayed throughout our ownership. However, being that this is a “clubsport” style project, we knew from the outset that suspension would need to be on the list somewhere. We decided that it would be best to start with sway bars, as that is one of the easiest updates you can do to your Porsche’s suspension, and it doesn’t require breaking the bank like some other suspension modifications do. The whole project, from start to finish, only took a couple of hours in our home workshop. It would probably take even less time if you have access to a lift.
We did a lot of research into what sway bars work best with each other, and why. We compared effective rates and roll rates and spring rates and exchange rates and interest rates. At the end of the day, we did the absolutely logical thing and ended up throwing all of the research out the window and buying the least expensive option anyway. Sometimes when a deal falls into your lap, you just have to jump on it. The rear bar is a Tarett Engineering piece we picked up on eBay, and the front is a new H&R piece that we were given a good deal on. The H&R piece has a similar roll stiffness to a stock 996 GT3 bar, but doesn’t require the GT3-style drop links, which saves quite a lot of money. The Tarett Engineering piece is only 6 tenths of a millimeter thicker than the stock bar, but is touted as being strong, lightweight, and a good piece to use with a 996 GT3 front bar.
Installing the Front –
Step 1 – Remove the front undertray
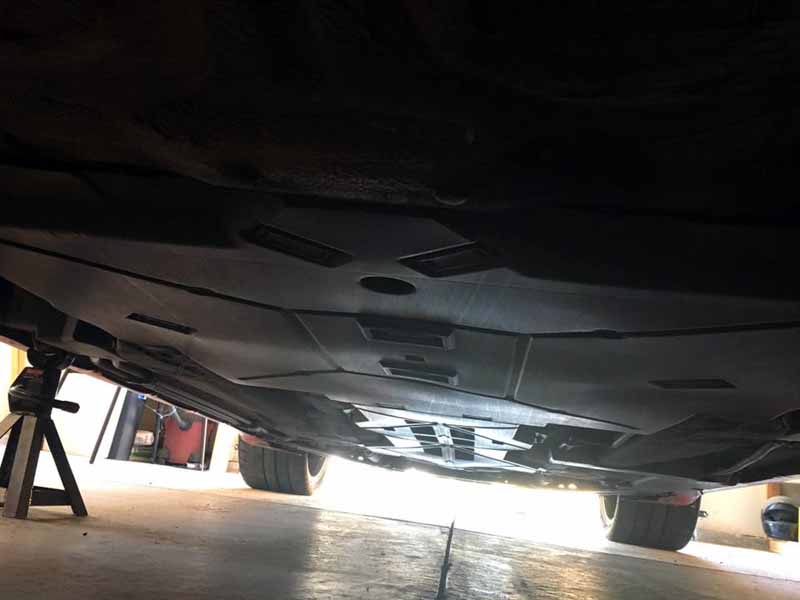
There are a bunch of little plastic clips and four 10mm plastic nuts holding this undertray on. It’s the first thing that has to go to get the old swaybar out.
Step 2 – Remove the front braces
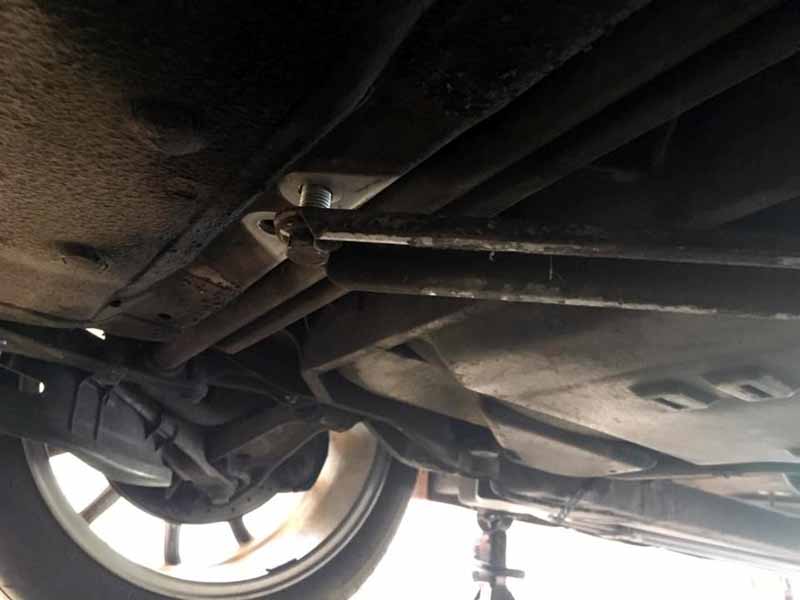
There are two diagonal braces that have to be removed. These are held on with a 15mm bolt at each end. A portable impact makes quick work of them.
Step 3 – Remove the front suspension lower mount
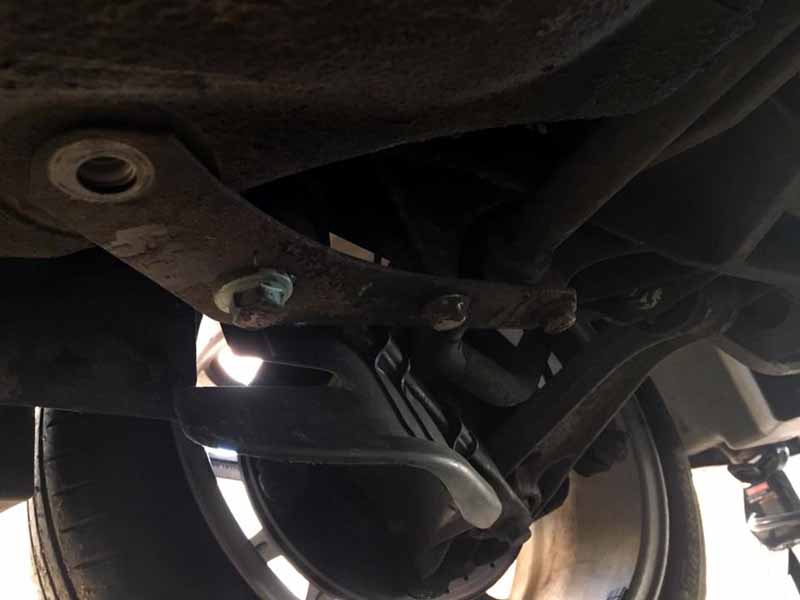
This piece connects the lower front control arm and the sway bar mounts to the chassis. The farthest forward is a 17mm bolt, a long 19mm bolt runs up through the control arm, and there are two 15mm bolts holding the sway bar up to the chassis. All four of these bolts need to come out.
Step 4 – Remove the stock sway bar
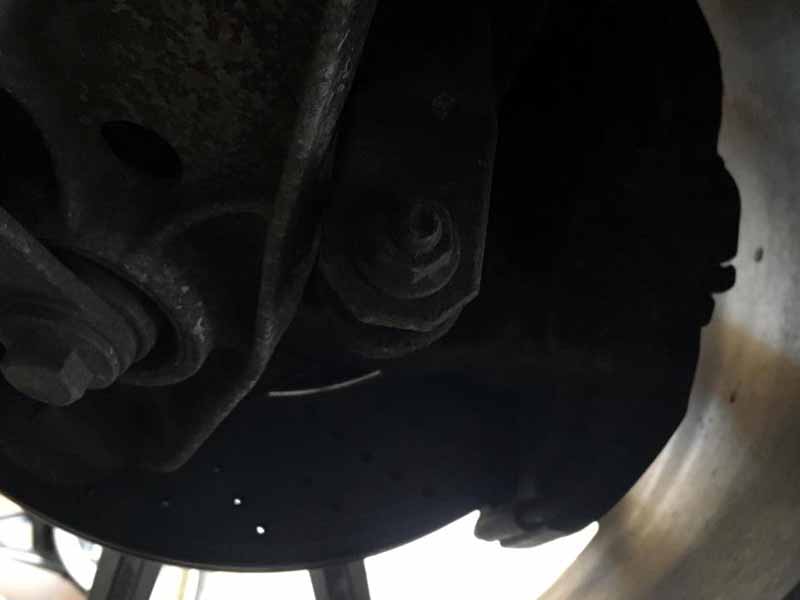
Once the brackets in the middle of the chassis have been dealt with, you need to remove the bar from the end links. This will require a 17mm wrench and a 15mm socket. Once the endlinks have been removed, you need to take a second to solve the puzzle of angling the old bar out of the car between the chassis and the control arms. It takes some finagling, so be patient and careful.
Step 5 – Prepare the new bar
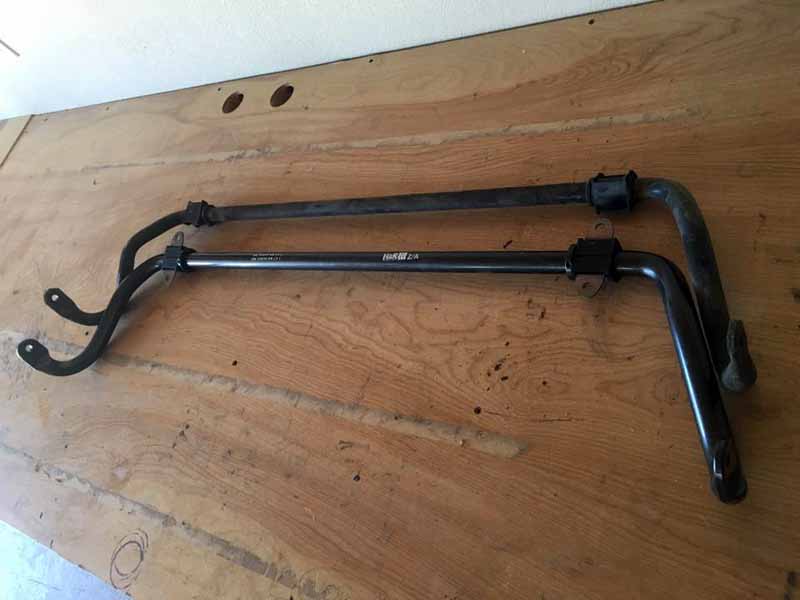
It’s always nice to compare the two bars on the bench when you have the old one out. You’ll need to transfer the old sway bar mounting bracket onto the new bar anyhow. In our case, we’re moving from the stock 23.1mm hollow bar to H&R’s 26mm solid bar. It’s easy to see that it is a good bit more stiff, and certainly a more solid piece. The bar ends are beefier as well, and it looks like a nice piece. I’m pretty happy with it.
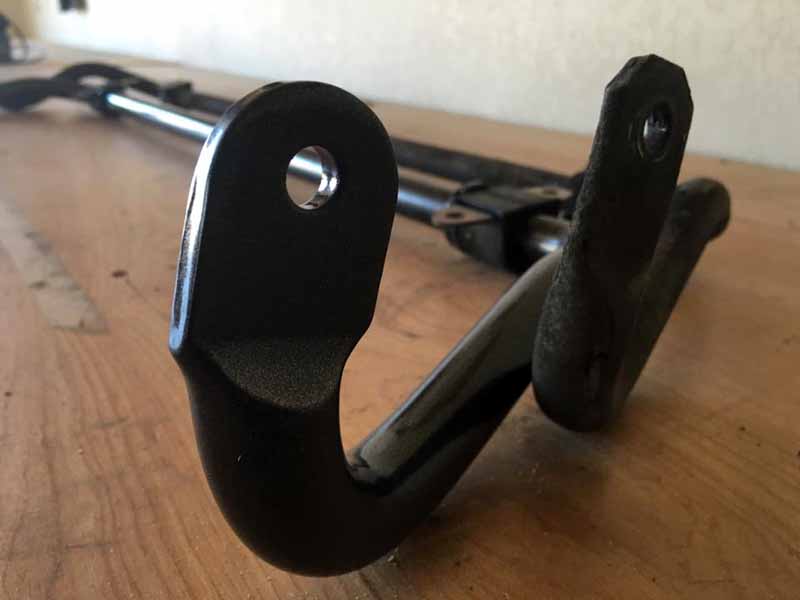
Step 6 – Installation is opposite of removal
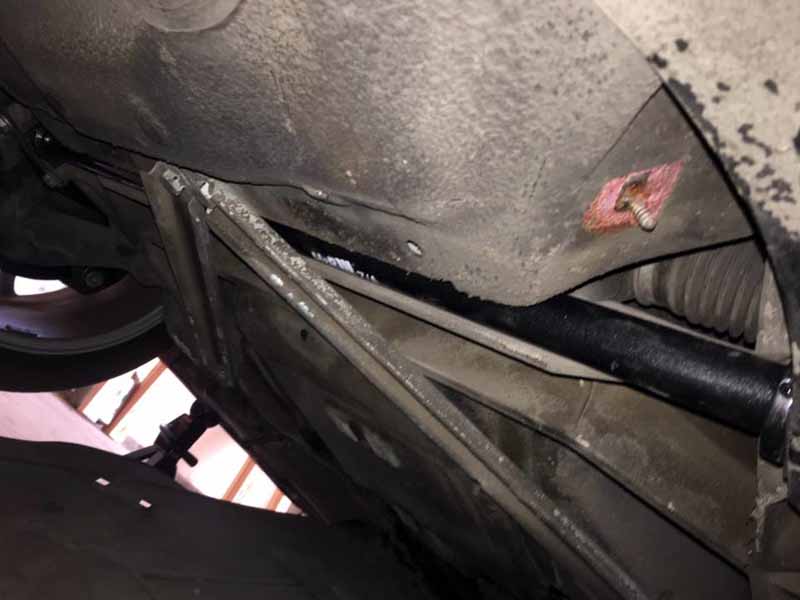
The new bar goes in and gets bolted up. This is a little more difficult than it sounds, as getting all four of those lower suspension mount bolts lined up takes some time and patience. That was the most difficult part of the job, if I’m honest. Once there, however, just reconnect the end links, replace the diagonal cross braces, and put the plastic undertray back. You may break a couple of those undertray retaining clips. It’s a good idea to order a couple new ones preemptively, use part number 996-504-691-00.
Installing the rear –
Step 1 – Removing Everything
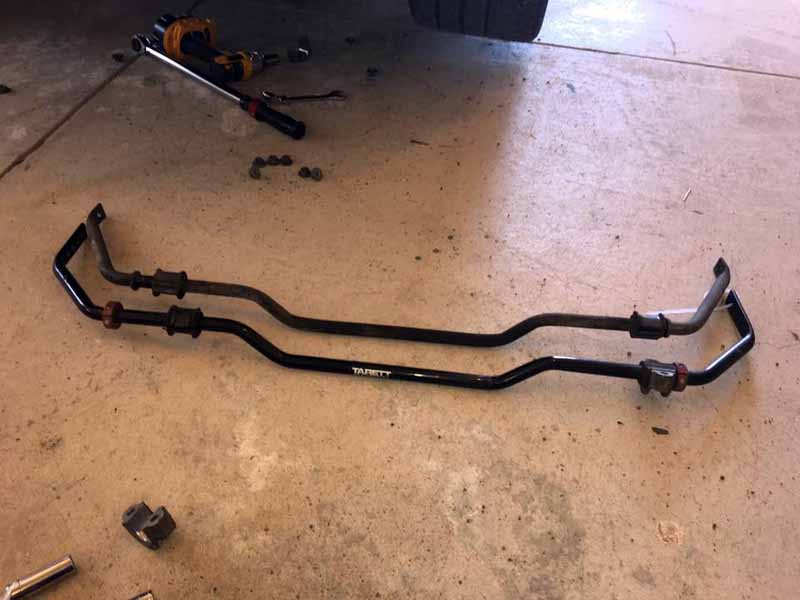
Like the front, the rear also has a plastic cover, as well as two large aluminum cross braces that need to be removed to access the sway bar. Once all of that is gone, there are two 15mm bolts holding each bracket to the chassis, and the end links require a 17mm socket and a 17mm wrench to remove.
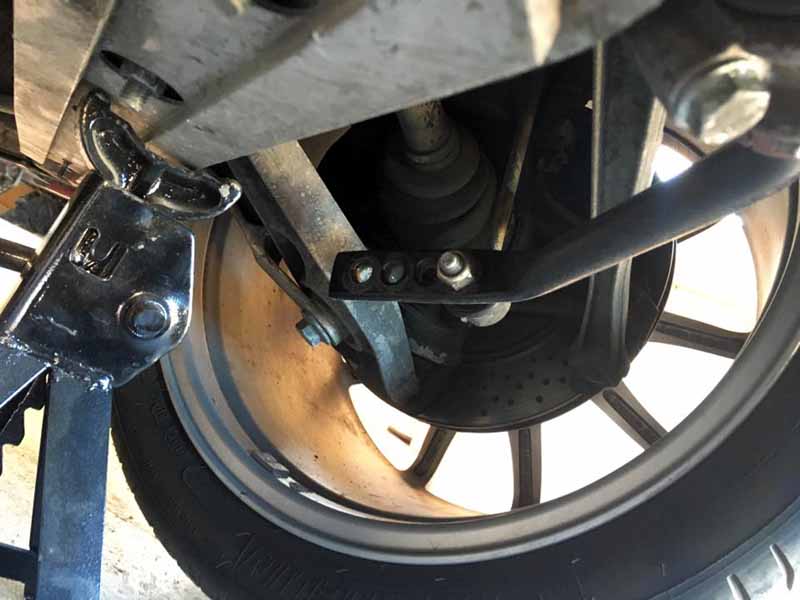
In this comparison, the two bars don’t look all that different from each other, as the stock bar is 18.5mm and the new Tarett bar is 19.1mm. However, the Tarett piece has four different adjustment holes, and is actually lighter than the stock bar. The new bar is a hollow piece, as was the stock original.
Step 2 – Install the new bar
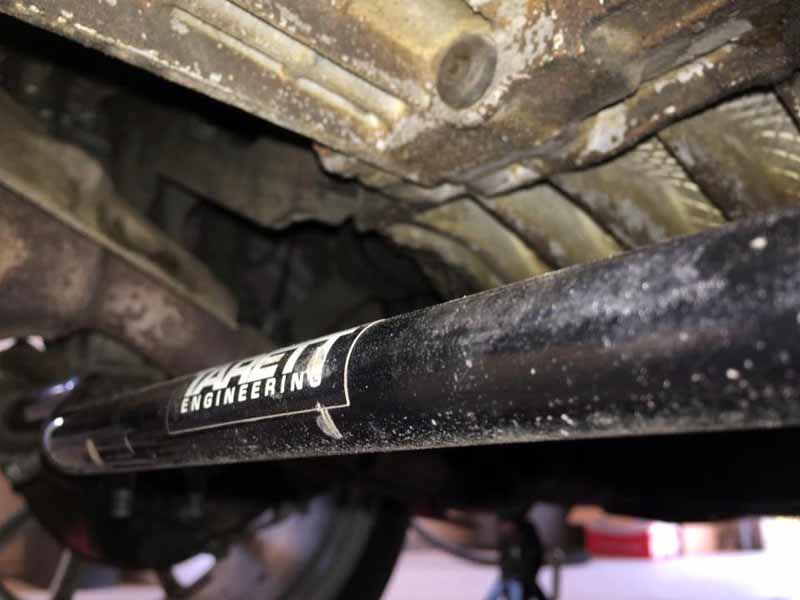
Again, this is a relatively simple reinstallation, as you’re already acquainted with how everything bolts up, having just taken it apart.
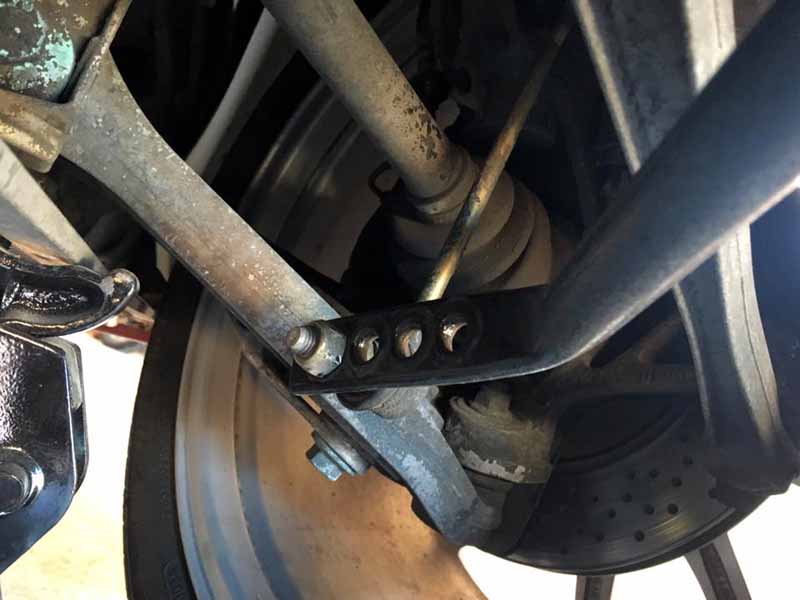
The rear bar was installed a while ago, and I had it on the full soft setting to match the stock front bar. Now that the H&R piece has been installed, the rear can be cranked up to full stiffness.
Driving impressions –
The new sway bars certainly make a noticeable difference in the handling characteristics of our Boxster. First and foremost, the car remains flatter through the corners, allowing our sticky Michelin tires to do their job of grabbing the road more effectively. Turn in and initial steering bite are greatly improved, as the steering now reacts in a way that borders on premonition. We’ve only had the bars on for a couple of days, but these are just the instantly noticeable changes. Over time we’re hoping to become more accustomed to the nuance of the new bars. As of right now, I’d say this was an excellent modification and well worth the cash outlay.
Sport Sway Bar Installation Costs
H&R Front 26mm Sway Bar (with bushings) – $299.95 (New – ECSTuning.com)
Tarett Engineering Adjustable Rear 19.1mm Sway Bar (with bushings) – $195.00 (Used – eBay. Available new from Tarett.com for $295.)
Total Cost – $494.95
[Featured Image by Manuel Carrillo III, all other images by Bradley Brownell]
