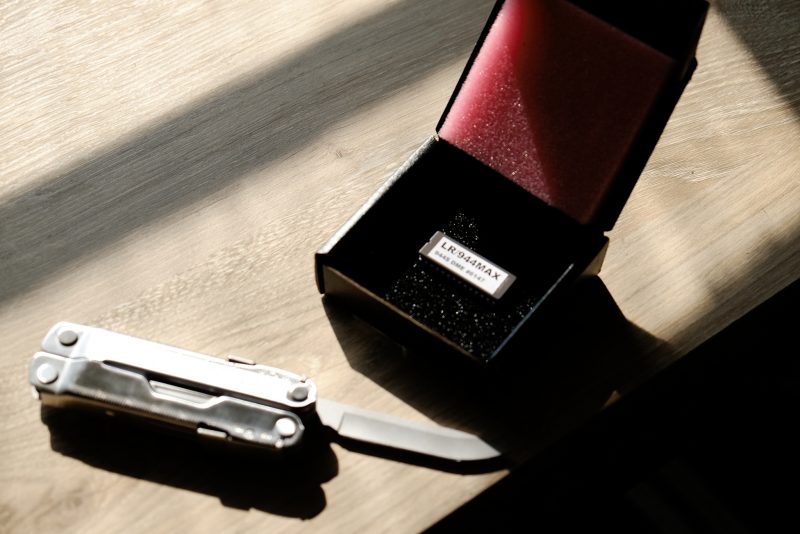
Sometimes you don’t realize how bad something is until it’s fixed. You plod forward, never knowing how much better things could be with a reasonably simple change. Apparently, that is how I felt about my ECU. The ECU, I always felt had slightly sloppy fuel mapping compared to a modern car, but it was thirty years old and that was sort of par-for-the-course. When pulling away at low speeds every S I have driven will hesitate at certain RPMs, typically between 3k-4k, before climbing on the cam and pulling cleanly to redline. This relatively simple, but unusually stressful, change didn’t make my 944 much faster, but it became much more enjoyable to drive.

Before we get started with this post, we need to thank Michelin. As many of you know, Michelin is a long-time sponsor of FLATSIXES.com. Recently, they have generously offered to sponsor Project 944 GTS as part of their involvement with our site. Please consider checking out what Michelin has to offer by clicking their banners on this page. Without Michelin’s support, and others like them, this site really wouldn’t be possible.
Why Bother Chipping the ECU in a 16v.
Let’s start here, as this was probably the scariest part of this whole project thus far. A mis-step could have turned my ECU into a very ugly paperweight, which I certainly did not want. Furthermore, I’m no big fan of Motronic, ranking it only slightly above Digifant in my hierarchy of ECUs. Especially in four cylinders, Motronic seems prone to dead zones in the fuel map, though that may be as much the individual manufacturers’ tuning as the intelligence of the system.
In 8v 944s, some of the issues with fueling can be mitigated with an MAF conversion, which both improves intake flow, and gives better A/F information to the ECU than the stock AFM. In the 16v cars, the conversion is not so simple, so you need to seek out other solutions.
Enter the E-Prom
Lindsey Racing makes a wide selection of E-Proms, including a matched DME/KLR set for Turbos which promises pretty substantial gains. Since the 16v S is not turbocharged, the power gain is much smaller, but there are other benefits. Lindsey Racing’s E-Prom for the S is advertised as giving a 4-6 horspower improvement, which in practice is pretty hard to feel.
Where the chip shines is improving smoothness. The S motor is not smooth by its very nature. It’s cammy, it doesn’t idle as nicely as the 3.0L 16v, and doesn’t settle out off boost like the Turbo. The chip gives my 944 much more modern, smoother fuel mapping. While the power gain is minimal, the gains in driving pleasure are hard to argue with.
How To Change the ECU in a Porsche 944
When I started this, I discovered something unusual- there are no how-tos online for replacing the DME chip in a Porsche 944S or S2. There are plenty for the Turbo and 8v NA cars, but none for the 16v, which happen to be slightly different. Both the position of the chip, and the construction of the ECU case differ slightly between the 8v and 16v cars.
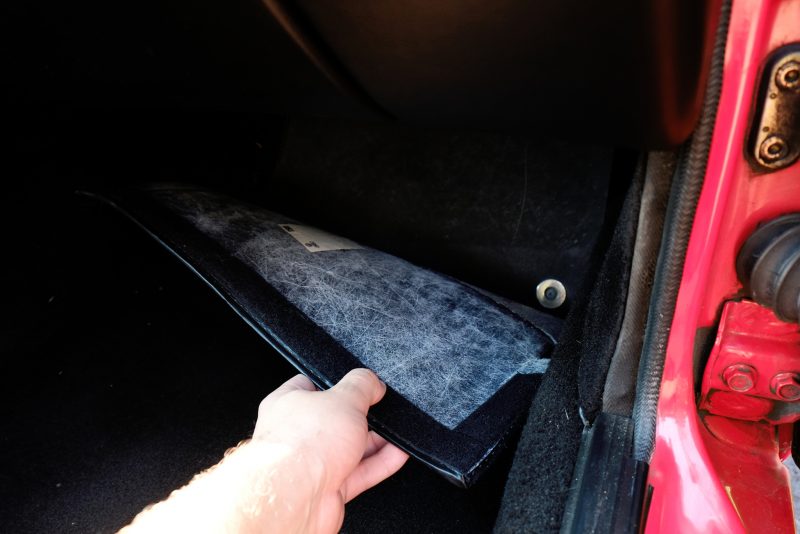
The first step is common to all 944s: Peel back the carpet in the passenger’s footwell, and expose the wooden toe board. The toe board is secured to the ECU’s metal bracket with four phillips head screws with large cad-plated washers. Remove all four.
The ECU’s metal support bracket comes out next. This is secured with two metal screws, and two plastic fasteners. Once these are removed, tip the whole bracket in to the footwell.
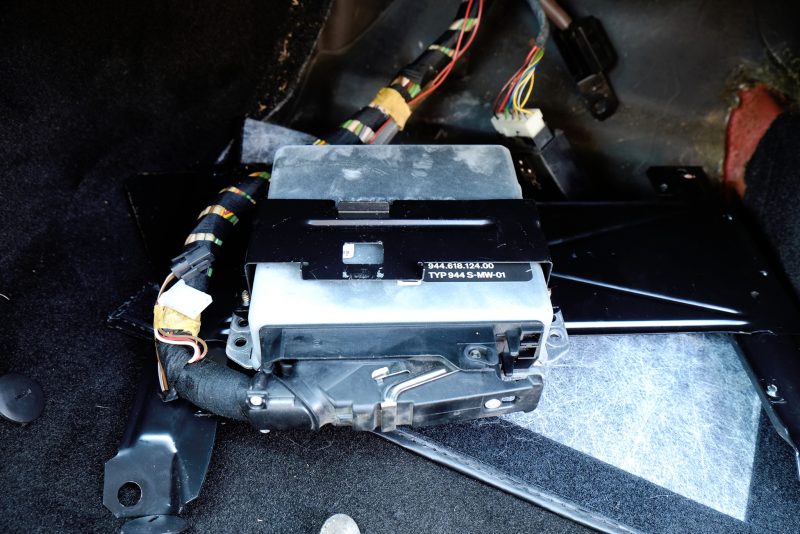
On the outside of the bracket is a small plastic box, which is present only if your car is equipped with the factory alarm. This doesn’t need to be removed, just unclip it from the bracket and leave it in the car. Unclip the massive gang connector from the top of the ECU, and remove the whole assembly from the Porsche.
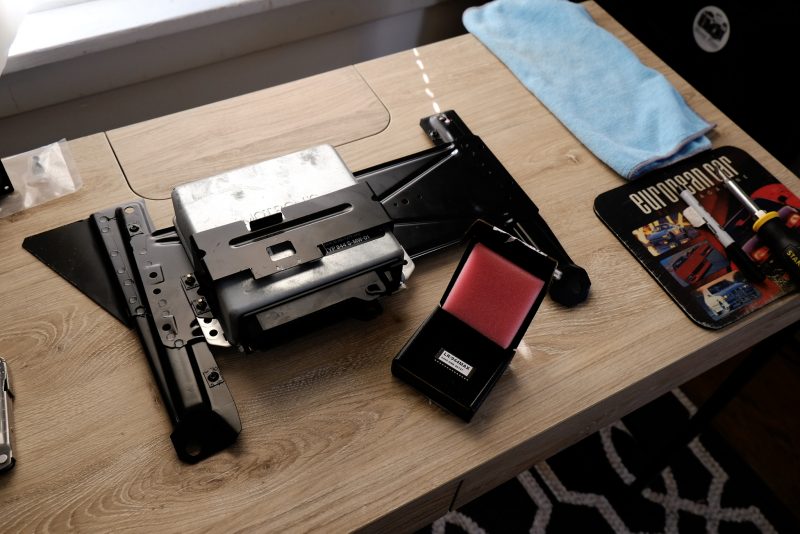
The ECU is held to the main bracket by a smaller bracket with three screws. Note which holes the screws pass through when disassembling the unit, as you can reassemble it incorrectly and then the ECU will no longer fit in the recess in the footwell.
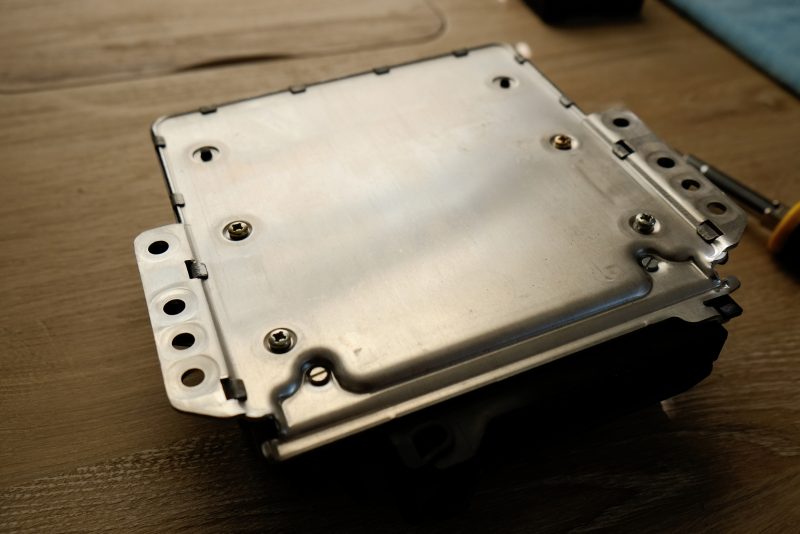
To open the ECU, undo the folded metal tabs on the back of the unit. It is not necessary to undo any of the visible screws. Once these are opened, the metal case will separate.
The “guts” of the ECU consist of two printed circuit boards, and the DME is between the two layers. To separate the boards, pop the plastic posts apart at the end with the ribbon cable.
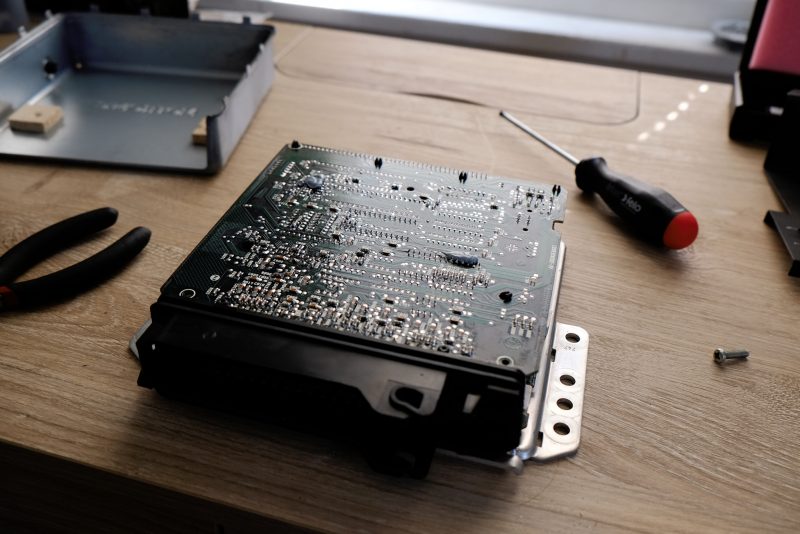
This is where things start to differ from the 8v: From the tutorials I have seen, The 8v’s upper board simply slides out of the receiver in the gang connector, exposing the inner chip set. In the 16v, the posts on the gang male part of the connector slide out with the board itself, and because of this there are two extra clips inside the gang connector. Stick a toothpick behind each of these to hold them open, then pull firmly on the upper board to free it.
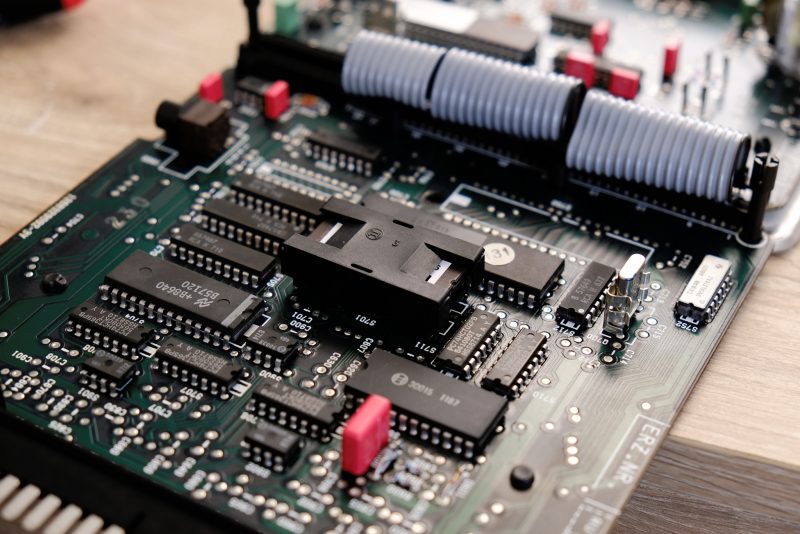
In the 8v cars, the chip is positioned near the edge of the board, while in the 16v it is in the middle and under a plastic cover. With a jewelers screwdriver, pop the clips out from under the long side of the chip (when doing this be careful to press ONLY on the plastic housing, do NOT use the printed board for leverage).
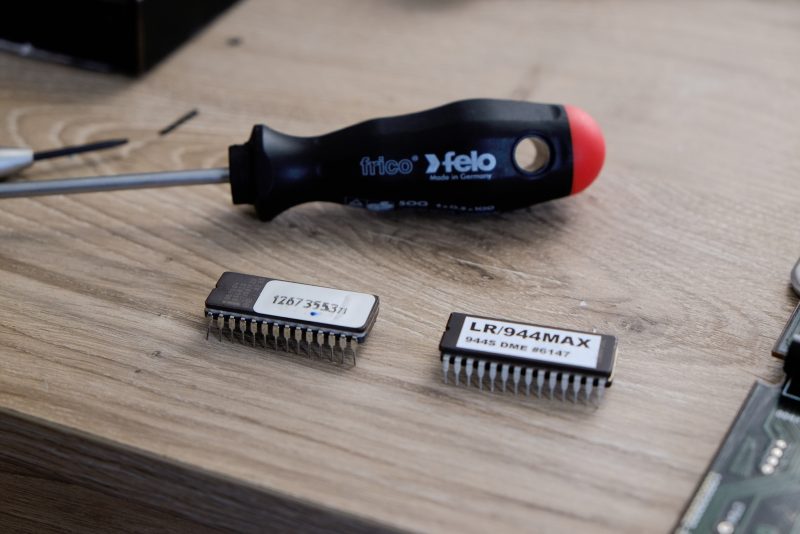
The chip, now exposed, is easily removed. Pop the new chip in its place, and put everything back together. Once you’ve disassembled, putting everything back together is very straightforward.

Once it’s all back together, take a drive. While the same change in a Turbo will unlock a lot of power for not much effort, in the S the gains are almost all in feel. The 944 will pull more cleanly at all RPMs, my car even idled more smoothly. While this was stressful to do, because the potential cost of failure was high, the end result is well worth it despite the modest gains.
Catch up on Project 944 GTS:
PROJECT 944 GTS- PART 1: INTRODUCTION
PROJECT 944 GTS PART 2: THE SWAY BAR AND THE ALL WEATHER SPORTS CAR
Project 944 GTS Mini Update: Don’t Sweat the Small Stuff
PROJECT 944 GTS- PART 3: SHORT SHIFTER AND NEW LEATHER
Project 944 GTS Mini Update: Lights, Hatch Issues and Parts Delays
