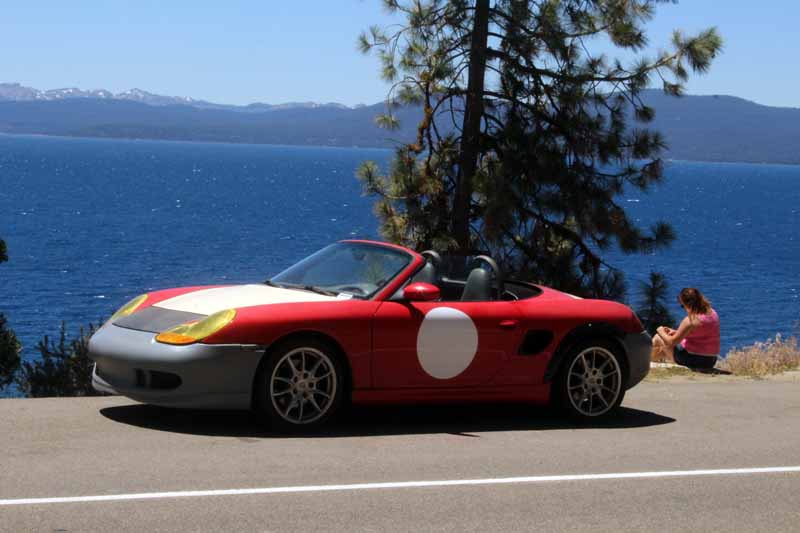
We’ve been wrenching on “Project Boxster Clubsport” for quite a while now, and it just keeps getting better. We purchased the Porsche for a song, and have been slowly making some moves to drop the car’s weight and add a little more fun. So far, we’re really happy with what the Boxster has become, even though the motion of the project has been halted and restarted in new directions a couple of times now. It’s an excellent Porsche, and we aim to make it just a little bit more excellent with each improvement.
Part 2 – GT3-Style Center Console Delete
Part 3 – LED license plate lights
Part 6 – Emblem Delete and Paint Correction
Part 8 – Short Shift Kit Installation
Part 10 – Big Brakes, Spacers, and Wheel Studs
Part 11 – Wheels and Michelins
Part 14 – Interior Door Handle Update
Before we get started we would need to thank Michelin. As many of you know, Michelin is a long-time sponsor of FLATSIXES.com. Recently, they have generously offered to sponsor Project Boxster Clubsport as part of their involvement with our site. Please consider checking out what Michelin has to offer by clicking their banners on this page. Without Michelin’s support, and others like them, this site really wouldn’t be possible.
Part 17 – Lowered Suspension And Raised Expectations
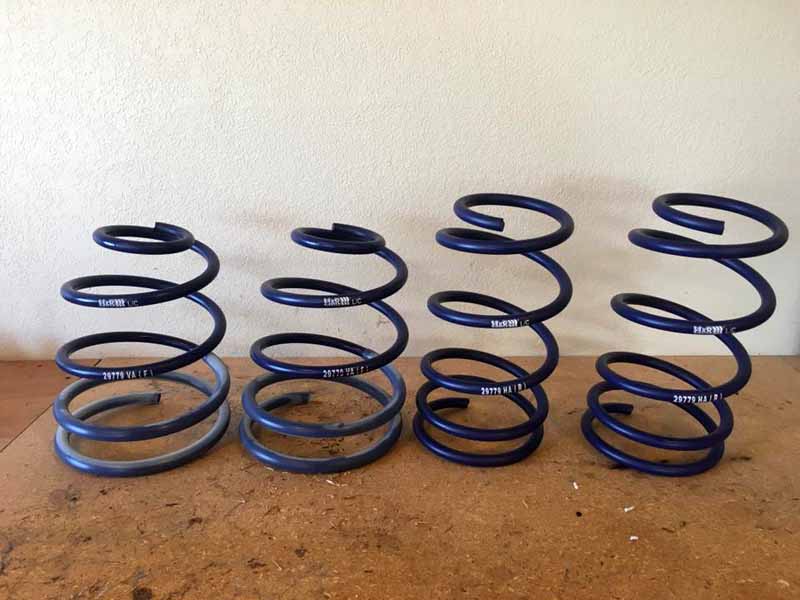
How do you go a full year owning a Porsche sports car and not call H&R for Sport Springs immediately? I wasn’t convinced before, but after having put this set on our Project Boxster, I can’t recommend them enough. While most Porsche owners are content with the springs provided by the factory when their car was first built, I wanted a bit more and this set of springs makes a distinct difference in the handling performance of your car without destroying the ride quality or driver comfort. Follow along to see what goes into the process.
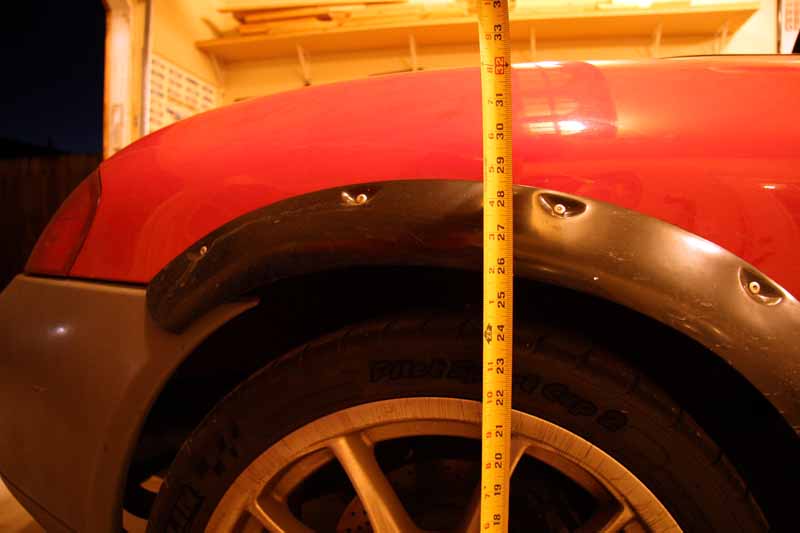
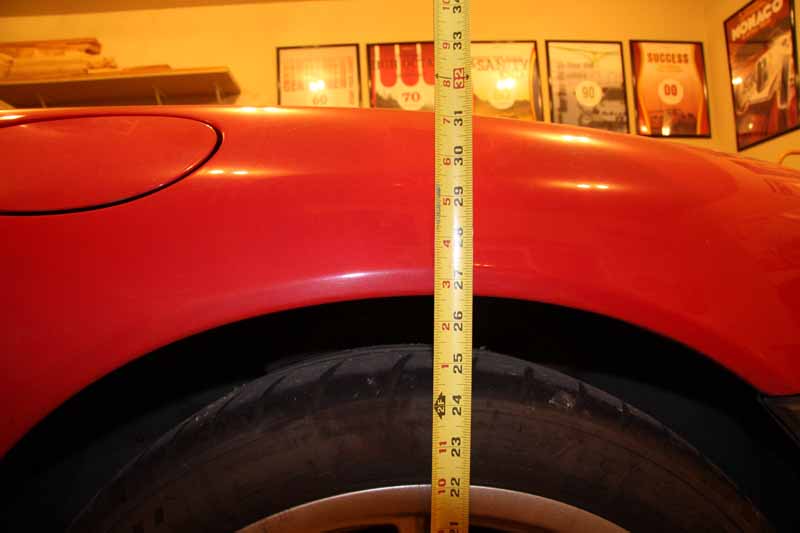
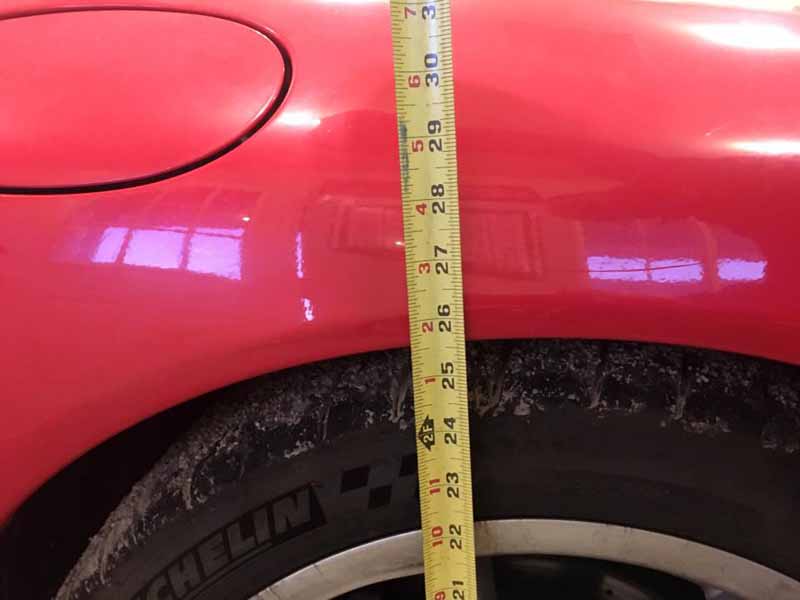
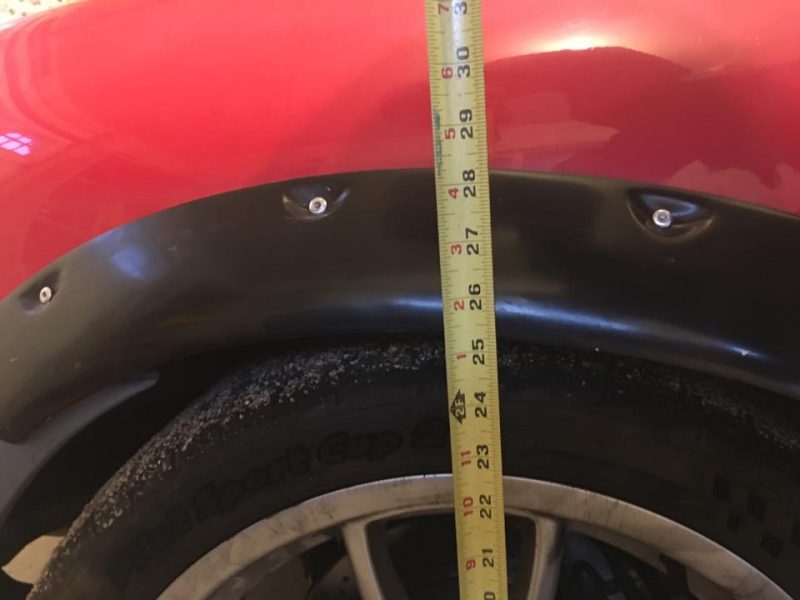
We started the whole process by pulling the Boxster into our workshop, parking it in a nice level place, and measuring the current height of the vehicle. When we got started, it was sitting at approximately 26.5″ in the front at the highest point of the fender. In the rear, our Porsche was at about 25.5″ at the highest point on our tacked-on flares. The Boxster already sits pretty low, but let’s cut about an inch out of that, shall we?
Step 1 – Removing the factory springs
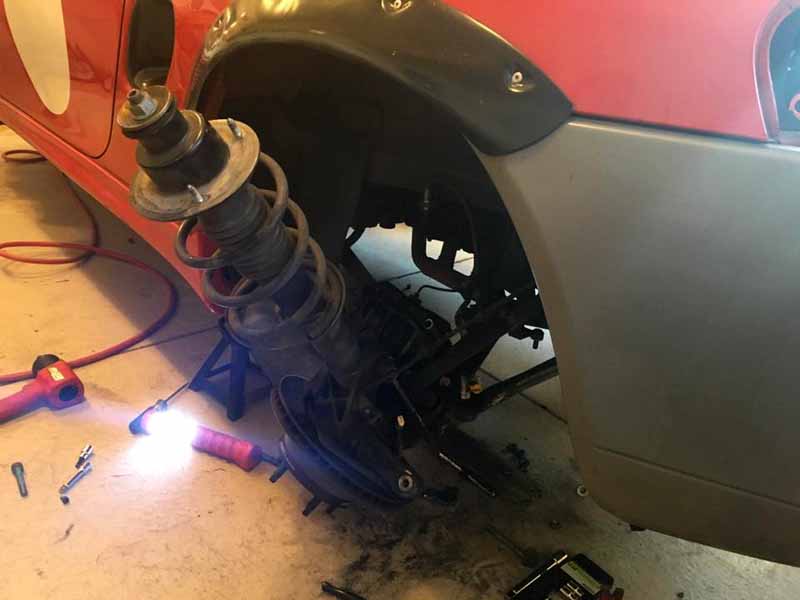
Being that I’d never taken the suspension out of this Boxster, I was optimistic that it would only take a few hours. I thought it would be a moderately easy job as I’ve done this kind of work on a number of cars over the years. With most cars, it’s a simple drop out and replace process. With a Boxster, it’s not so simple.
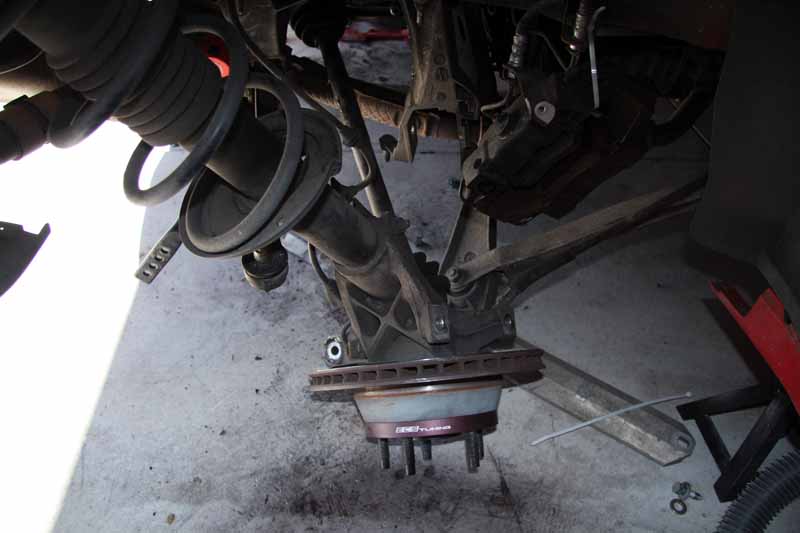
The good thing about our Porsche is that this is a very clean desert car, so none of our bolts have any corrosion, and everything pulls apart without too much heat-and-hammer work. What isn’t so good is that the suspension is exceedingly complicated to deconstruct for someone who has never done it before. Going into the process, we were happy with the shock absorbers and we decided not to replace them. Once we got things pulled apart, it was clear that we should have just replaced them in any case, as it is a lot of work to get in there. In order to get the coil and strut out of the Boxster, you’ll need to remove the upper strut mounts (front trunk and under the top, 3 nuts on each), disconnect both sway bars, remove all four calipers, loosen the front lower control arms, separate the front struts from the knuckle, remove the rear toe arm, disconnect the rear trailing arm, separate the CV axles from the transaxle, and loosen the rear lower control arm. Only then can you get the whole assembly off the car. If you’re going to all that trouble, just replace the struts while you’re in there. We didn’t have the parts on hand. Oh well, pressing on.
Step 2 – Something Always Goes Wrong
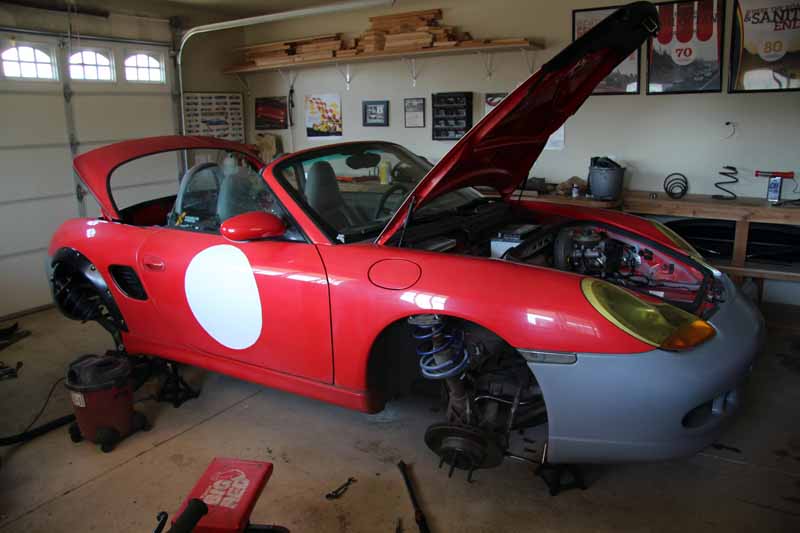
Of course, none of that process went smoothly for us either, even without the forces of corrosion fighting against us. Two of our CV bolts were stripped and needed to have their heads cut off to get them out. Being that this is a DIY project in a relatively small shop, we don’t have the luxury of a lift, so this project required a few hours laying on cold concrete.
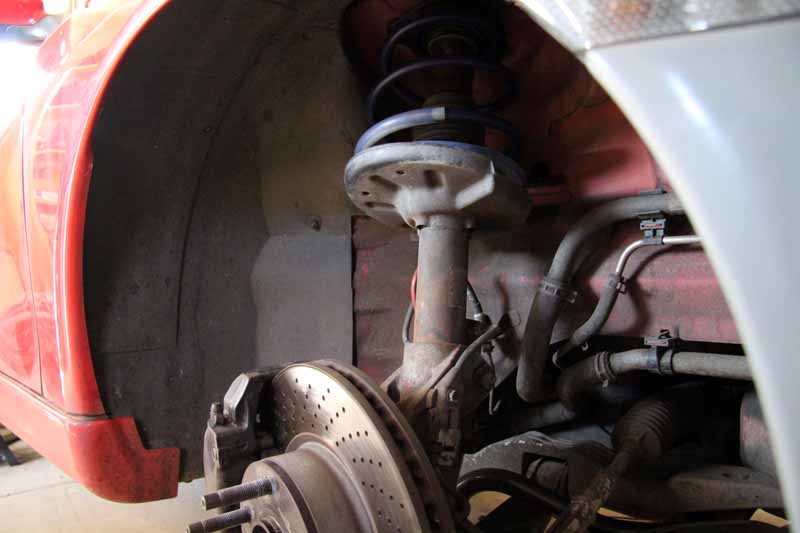
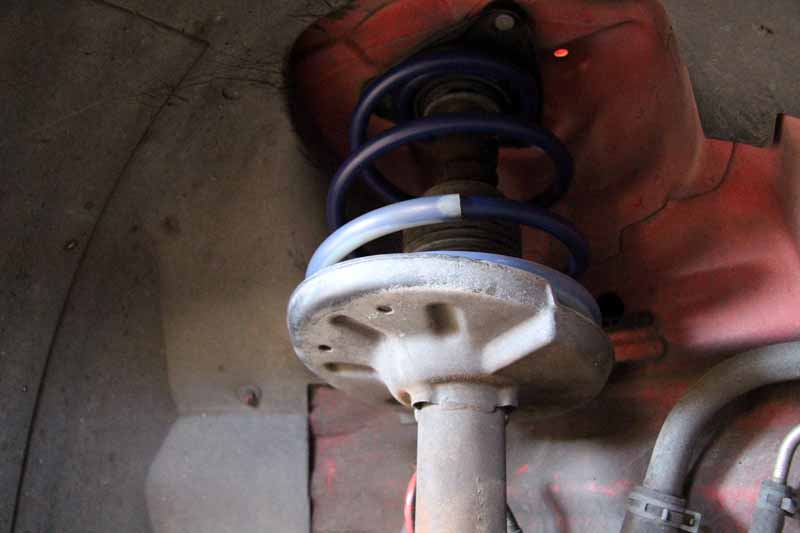
Since we weren’t removing the struts, we simply got the assemblies to cant out of the wheel housings and compressed the springs while they were still attached to the Porsche. Spring compressors aren’t a tool to use casually, if you don’t know what you’re doing with them you can get seriously hurt, so if you haven’t ever removed springs from a MacPherson strut before, you should at least have someone with you who has to walk you through the process.
Step 3 – Installing The Springs
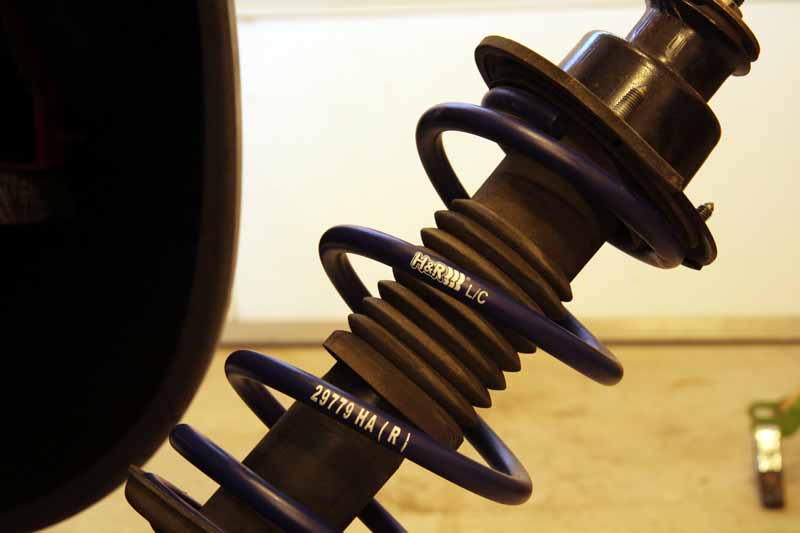
Once the new H&R springs are on all four corners, you can start bolting things back together. It’s like a delicate jigsaw puzzle that requires patience and forethought. Make sure everything is torqued to proper numbers, and you have to use brand new CV axle bolts every time, because they are torque-to-yield bolts. You can ask us how we know.
After your springs are installed, the next step is to get an alignment. Of course we had some issues there, so be sure to check out our next installment for the resolution of that debacle.
A few weeks later, as everything had been given an opportunity to settle out, we measured again. Our resulting ride height shows the following: 25.5 inches in the front, and about 25.25 inches in the rear. Just sitting down in the Boxster you can feel that it rides much lower. We’ll follow up with some driving impressions after all of our suspension work has been completed, there’s more coming in future installments.
Project Boxster is nearing its completion. Let us know in the comments what you’d like to see us do with this car in future installments.
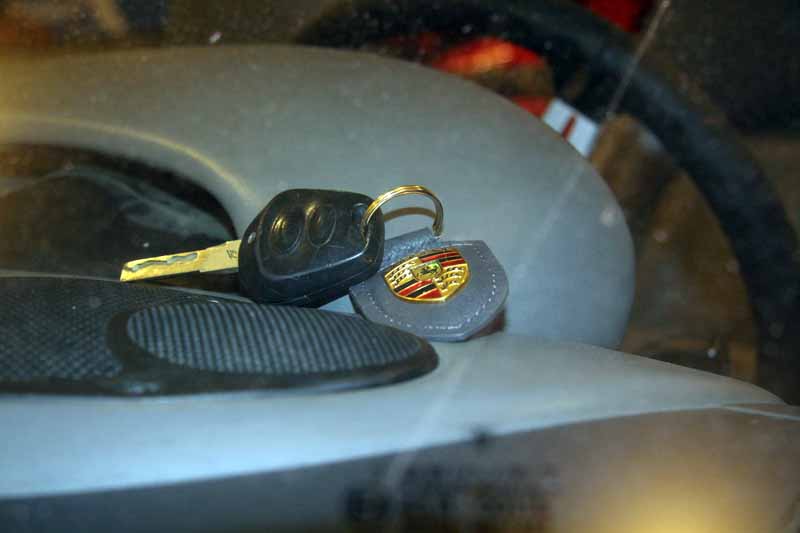
H&R Sport Spring Installation Costs
H&R Sport Spring Set (#29779) – $299.95 (New – ECS Tuning)
CV Joint Bolts (900-067-211-09) – $2.35 each (New – Stoddard.com)
CV Joint Lock Plates (993-349-191-00) – $4.06 each (New – Stoddard.com)
Alignment Performed – $385.00 (Service – Reno Rennsport)
Total – $691.36
