The joys of owning an old car, particularly one with a large number of power features, are often tempered with frustration. In many ways, it can be hard to avoid the fact that Project 944 GTS is 30 years old. Though the car is tight, and well screwed together, many things that you touch and interact with day to day really show their age. Plastics degrade, leather and rubber that was once supple hardens, and some features become just plain inadequate. This update isn’t focused on making Project 944 GTS faster, but it does center on making it nicer to live with.
Before we get started with this post, we need to thank Michelin. As many of you know, Michelin is a long-time sponsor of FLATSIXES.com. Recently, they have generously offered to sponsor Project 944 GTS as part of their involvement with our site. Please consider checking out what Michelin has to offer by clicking their banners on this page. Without Michelin’s support, and others like them, this site really wouldn’t be possible.
Taillight Seals – A Trial in RTV
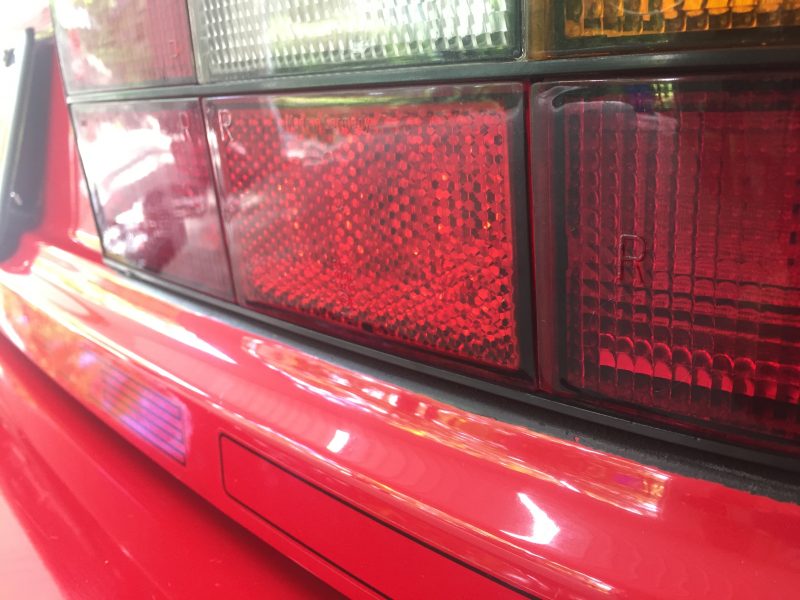
When new, Porsche used a dark, tar-like material to seal the 944’s taillights to the bodywork. While this did provide a good seal when new, it does have some notable downsides after 30 years. Air pockets in the material can open up, causing thin channels through the seal into the car. Usually this manifests as water in the rear “smugglers boxes.” Generally the shelf-like rear spoiler keeps most of the water out, but not all of it. Perhaps more frustratingly, every time it rains a little of the dye leaks out of the sealant and runs down the bodywork. It looks like the car has runny mascara, and simply needs to stop. Fortunately, Only944 offers a rubber seal kit which eliminates both of these issues.
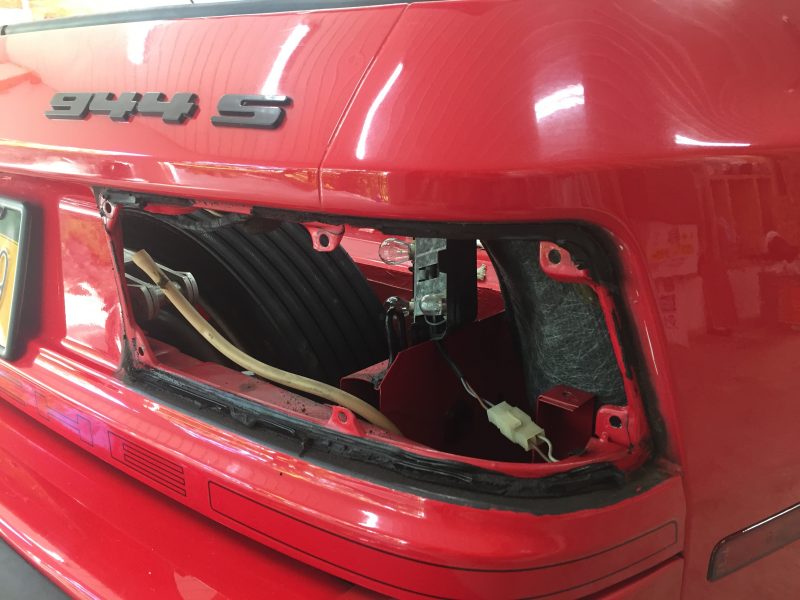
Removing the light leaves gooey sealant on both the bodywork and on the taillight housing. Goo-B-Gone makes an automotive clearcoat-safe product which was indispensable in getting the sealant off the bodywork. I found WD-40 worked better on the plastic taillight housing.
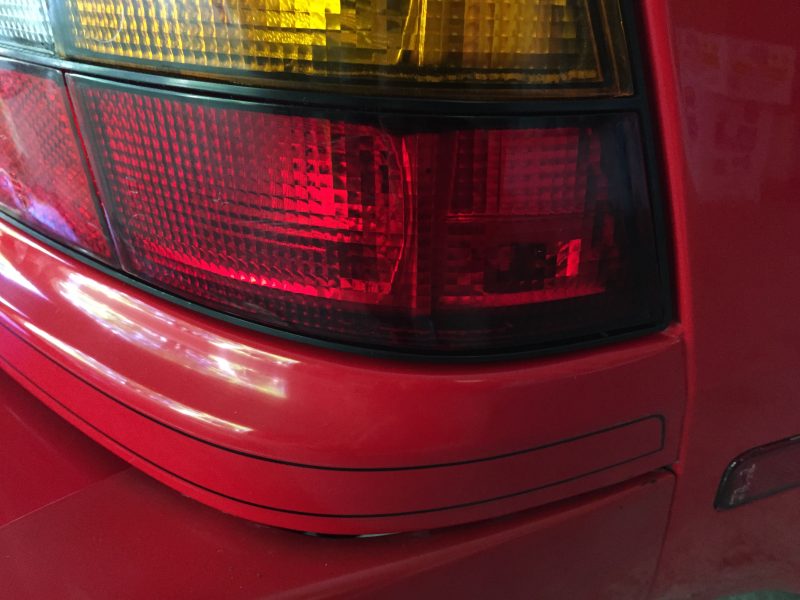
The new seal is adhesive backed rubber, and sticks directly to the channel in the taillight Porsche molded in for the rubberized sealant. With the new seal in place, the area around the taillight is cleaned up substantially. I have shot the taillight pretty thoroughly with a hose since replacing the seal, and it appears to be working as designed. Of course, if the rubber seal ever gives up it’ll cause substantially fewer headaches to replace than the original.
Additional Running Lights
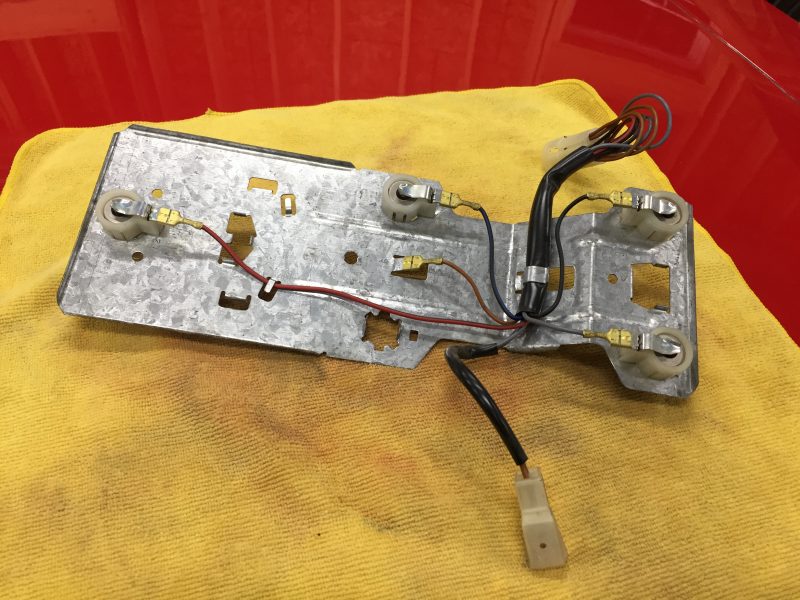
While the taillight clusters are out, separate the taillight boards from the housings. You might notice that there is an empty bulb slot on the board, and an empty hole in the housing just outboard of the main running light. I am unsure why Porsche left this hole empty in US market cars, but adding another bulb is very simple, again with a kit from Only944. The additional bulb socket drops right in to the hole in the board, and is wired to the other running light. Detailed instructions can be found here.
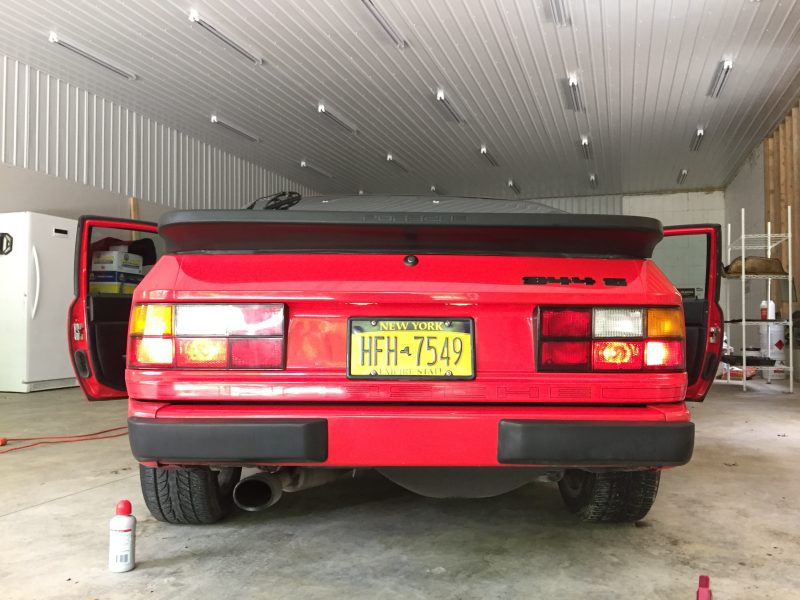
The additional bulbs double the number of running lights at the rear of the car. I opted to fit higher output bulbs in all positions while I had the housings out. Considering the small size and very low height of a 944 compared to modern cars, every little bit of additional visibility is helpful. My girlfriend’s Fiesta towers over the 50″ tall 944, to say nothing of the full-sized pickups I often share the road with.
Sunroof Seals
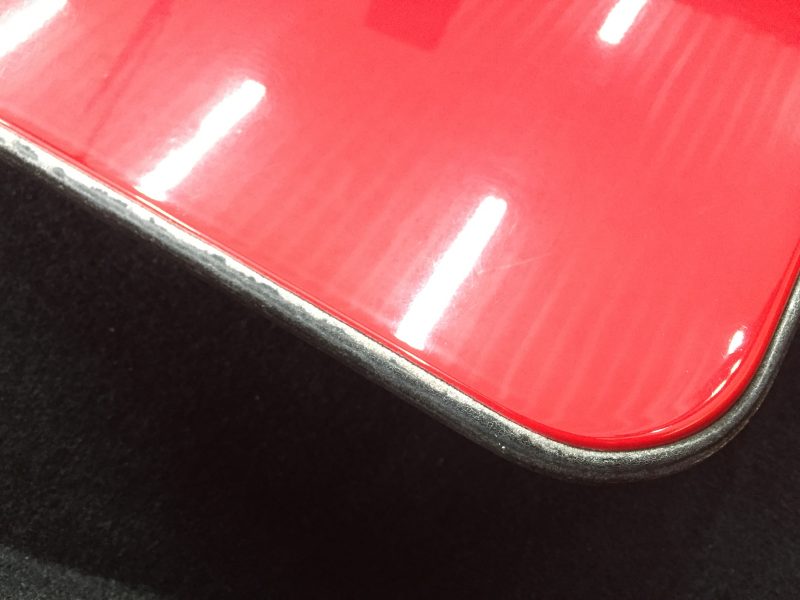
The rubber sunroof seals are now 30 years old. Mine still sealed reasonably well, though sometimes a little water would come past the seals while washing. 30 years of wax built up in the flocking on the upper edge of the seal, and frankly they were not helping the look of the car. That little flash of cakey white wax could catch your eye from 30 feet away, and somehow your eyes could never leave it as you got closer. Off they came.
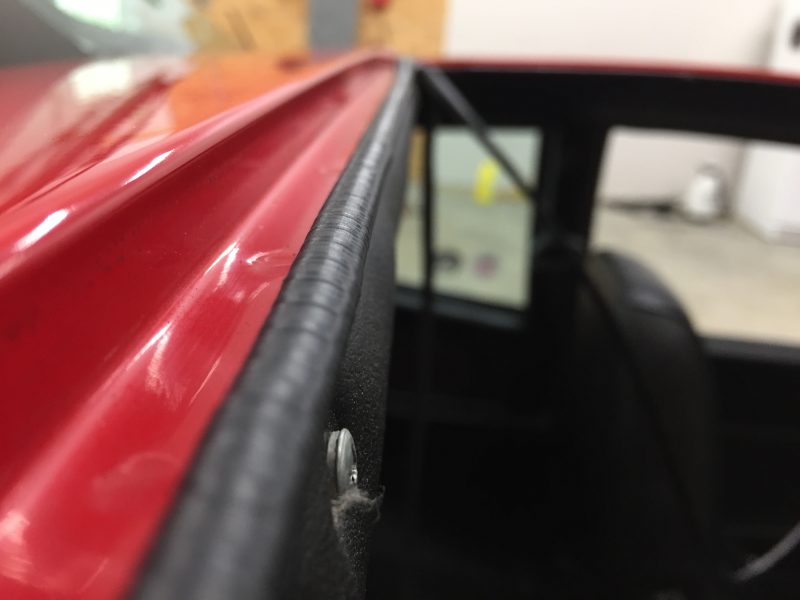
The seal actually comes in two parts, one on the body of the car, and one on the removable fiberglass center panel. The inner part is easy to replace, it’s simple rubber, peels off easily, and the new seal slides right on a metal lip. The portion on the sunroof itself is much more complex, with an inner metal element running through the rubber seal to help hold it tightly to the fiberglass roof. While the seal worked on relatively easily, it did lead to its own issues.
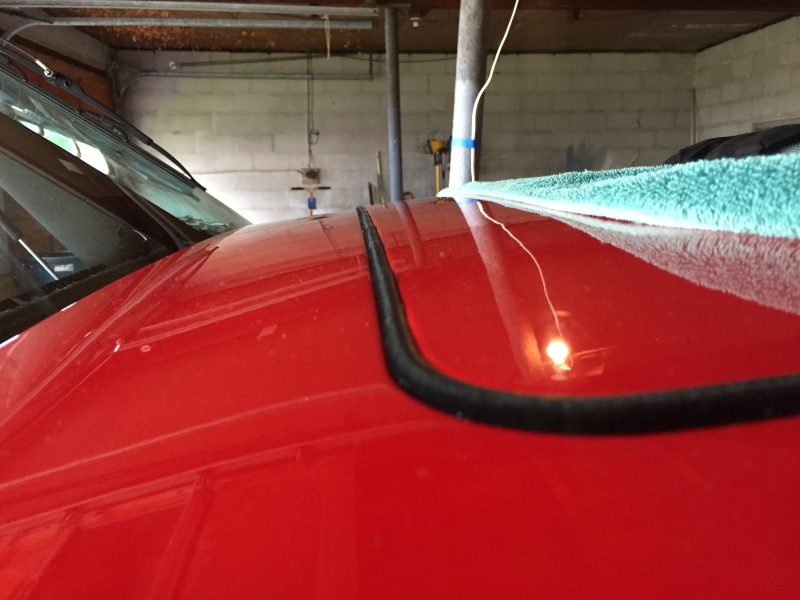
When fitted, the new seal raises the roof slightly out of the recess. You can see the offset above. I checked the seal very scientifically by dumping a 5 gallon bucket of water over the top of the car, and then shooting the edges of the seal with a hose. Despite the slightly wonky look, it did keep water out perfectly. According to the vendor the seal will shrink slightly over time, and the roof will sit flush after a while. Of course, because of the unique way the 944’s sunroof operates, I managed to strip the sunroof drive gears the first time I closed the roof.
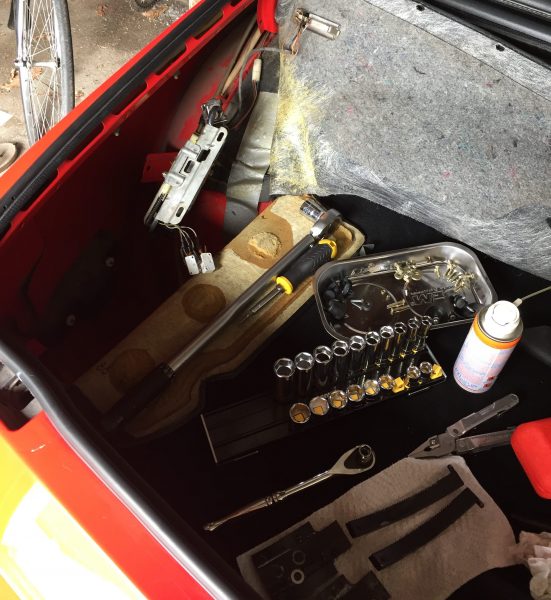
In the process I discovered an issue with one of the microswitches which limit the movement of the top. I did take the opportunity to adjust the working pair slightly, as well as reduce the tension on the slip-clutch on the motor which preserves the fiber sunroof gears.
Catch up on Project 944 GTS:
PROJECT 944 GTS- PART 1: INTRODUCTION
PROJECT 944 GTS PART 2: THE SWAY BAR AND THE ALL WEATHER SPORTS CAR
