There are certain difficulties in daily driving an older performance car. Some are obvious- the car sits substantially lower than even modern performance cars. Ventilation can leave something to be desired. Slow steering racks can make parallel parking a challenge (yes, project 944 GTS gets parallel parked a lot, so I am keenly aware of how many turns lock to lock this thing has in performance and non-performance driving situations). Not least of all, sometimes weird stuff breaks, and sometimes parts are straight up not available.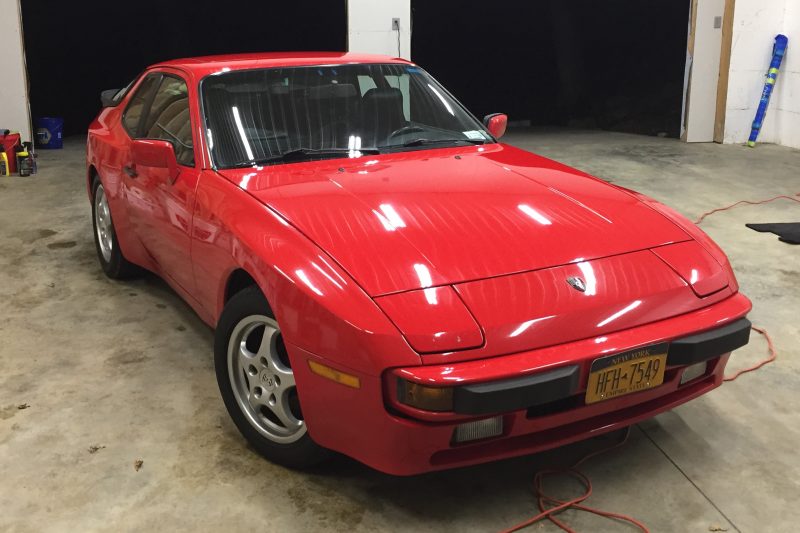
Before we get started with this post, we need to thank Michelin. As many of you know, Michelin is a long-time sponsor of FLATSIXES.com. Recently, they have generously offered to sponsor Project 944 GTS as part of their involvement with our site. Please consider checking out what Michelin has to offer by clicking their banners on this page. Without Michelin’s support, and others like them, this site really wouldn’t be possible.
Hatch Pins
I took project 944 GTS to the store recently, went to close the hatch, and it bounced back up at me. Second attempt, close the hatch, and up it comes. The hatch pins were not seating in the latches, and suddenly I am stuck with a hatch that will not close or lock. Son. Of. A. Bitch. This car lives outside most of the time, so this is easily classified as a big problem.
Fixing this issue is something of a challenge, as the 944’s hatch mechanism is unusually convoluted and comprised of five major parts, most of which are independently adjustable, leaving a lot of room for error. These parts include the hatch pins(two), receivers(two), lock mechanism, manual actuators, and the power actuator.
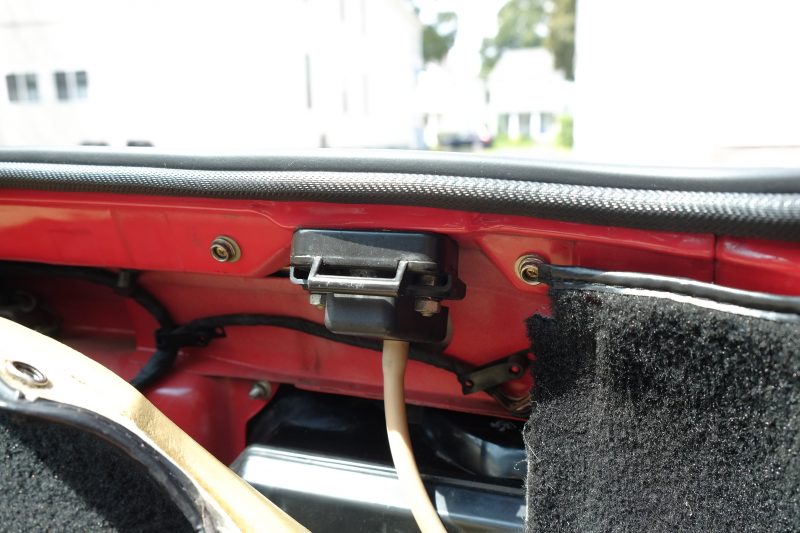
Peel back the carpets, and the receivers, which I deduced to be the source of my problems, are easy to spot. Viewed from the top, these are the holes the hatch pins pass in to, and make up the actual latch mechanism. They are attached to the lock cylinder in the middle of the rear fascia with push-pull rods.
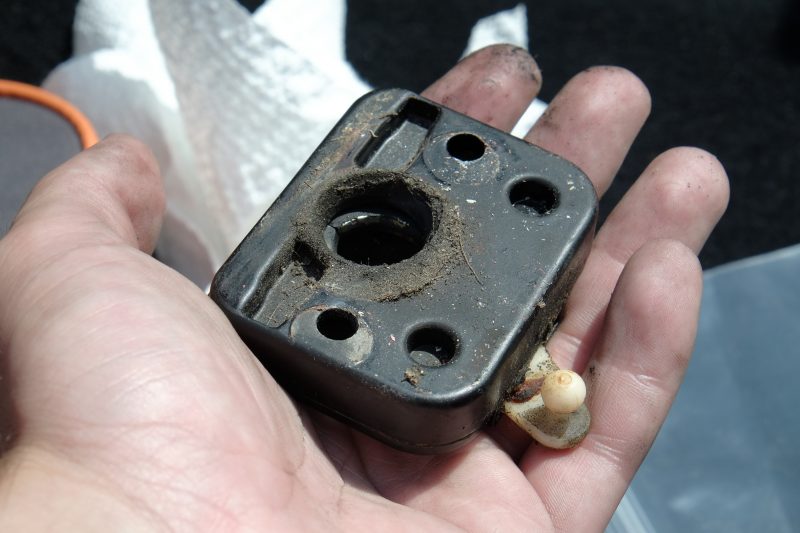
The receivers are pretty easy to remove, just two studs secure them and their lower catch tray/drain. Undo the nuts, remove the drain, unclip the push/pull rod and they drop right out. Assuredly after thirty years these latches are disgusting. Be careful when cleaning these, as they are internally lubricated and harsh cleaners can remove the grease. I shot them full of white lithium grease just to be sure.
Each latch closes over the top of the pins with two closing jaws. I found that my passenger side latch had just one working jaw, and the right side one got jammed up with the decaying hatch pin receiver rubber. The combination of these two issues meant that the hatch pins would not seat in the latches, and my hatch wouldn’t close.
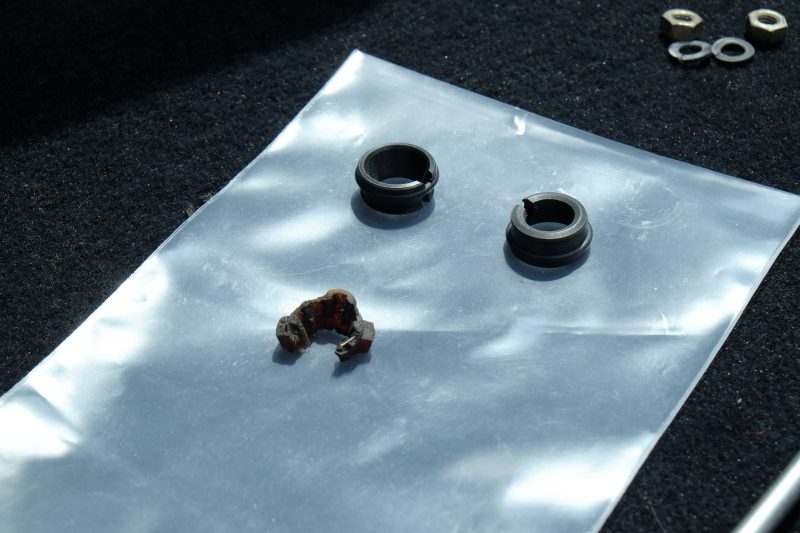
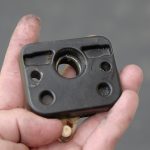
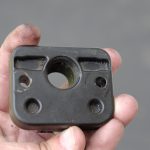
That disgusting piece of rubber is the old hatch pin seat from the left side(the right side was all but disappeared), and the two other pieces are the new seats. Only 944 supplies these seats with rubber o-rings to help center the seats in the receiver, but I found that with the o-ring in place the head of my pins would no longer fit in the receiver. Your mileage may vary, but after removing the o-ring my pins fit tightly, and without wiggle room. I applied a small amount of adhesive to the bottom of the receiver to help keep the pin seats from moving unduly.
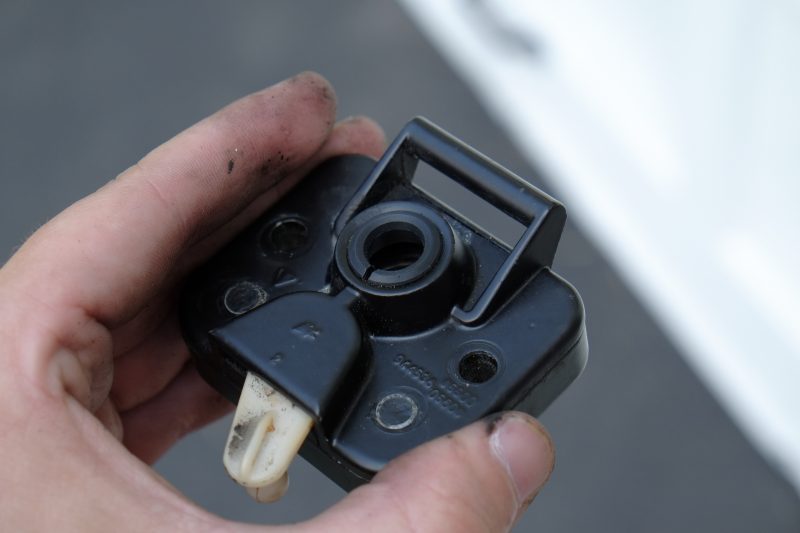
Getting the receivers re-installed is the reverse of installation. Only944 has a handy guide to adjusting your hatch correctly. Fortunately I marked all of my adjustment points with a grease pencil during disassembly, and was lucky enough that everything slid back together smoothly when I was done.
Lighting
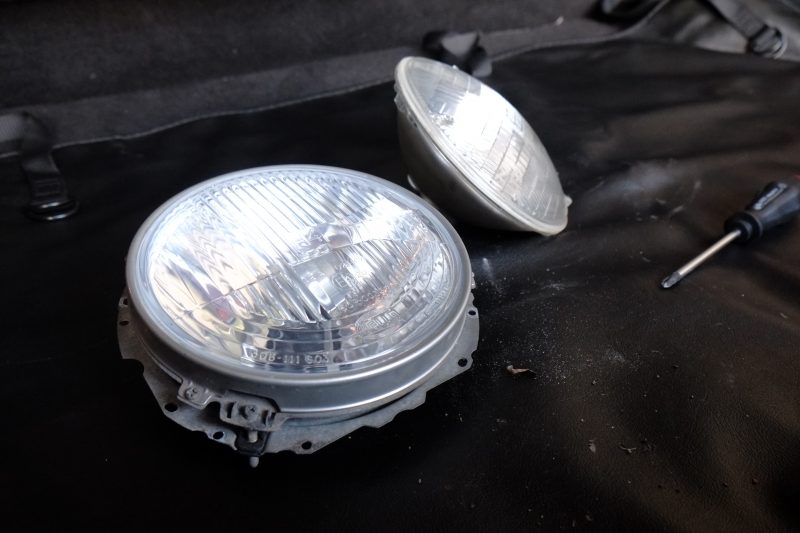
I can not undersell how important this upgrade is. US market 944s all came with sealed beam headlights. Installation of an H4 headlight of the same size is the simplest possible upgrade which will improve enjoyment of your 944. Light output is improved substantially even with standard bulbs, and can be improved further with upgraded bulbs. I tend to like Flosser Ultralamps, because they use a different gas blend in the bulb, giving greater output without substantially increasing power demand or necessitating additional relays. Even with standard Hella H4 bulbs, the new lights work much better than the old.
For you 911 owners who have an easier time with lighting than us pop-up headlight folks, here is how to make the swap in a 944:
- Remove the headlight actuator fuse. It should be the second fuse in the box.
- Remove the rubber boot from the headlight motor.
- Turn the round actuator at the top of the motor to raise the lights
- Remove the plastic shroud from the housing, then remove the light from the cradle.
- You can also remove the full light cradle from the headlight bucket if you want to give everything a good cleaning. As long as you don’t touch the adjusters, you are fine.
- Install the Euro light into the cradle.
- Install the bulb in the light.
- Reinstall everything, including the fuse.
- Check your alignment.
- Enjoy your night vision.
Upcoming Updates
As I mentioned in the lead paragraph, there are some factors that come in to play when daily driving an older car. Parts availability is a big one. I am hoping to have a suspension install ready for you by the end of the month, but for a variety of reasons that may be delayed slightly. I originally wanted to run Koni Reds in Project 944 GTS, but upon discovering a parts shortage affecting the rebuild parts I needed for my Reds, I opted to downgrade to Koni Yellows, only to find they are also on backorder. The Konis should be in soon, and will be installed quickly as soon as they arrive.
So let’s just lay out where this project is going. Michelin’s official support of this project runs through the end of September, by which point the suspension should be in, as well as the new wheels and tires. This will not be the end of the project, however, as I still have plans for the car. The rear seat will be deleted, the 944’s pervasive chassis-stiffness woes will be addressed, and then we have to figure out how to coax more performance out of the 2.5L 16v without driving me to bankruptcy (no mean feat, I assure you).
Catch up on Project 944 GTS:
PROJECT 944 GTS- PART 1: INTRODUCTION
PROJECT 944 GTS PART 2: THE SWAY BAR AND THE ALL WEATHER SPORTS CAR
