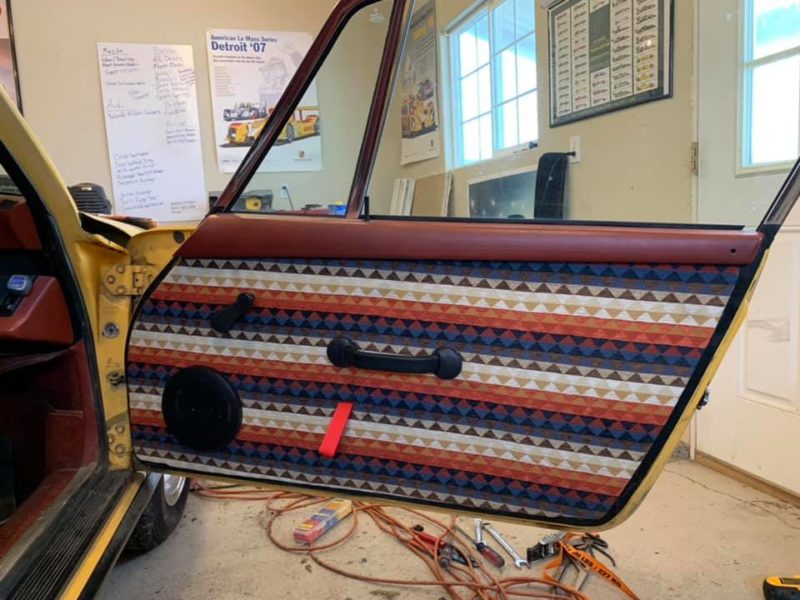
My 1976 Porsche 912E’s original red door cards have seen better days. At some point in the car’s life the outer window scraper seal had shrunk about an inch, and the plastic vapor barrier was removed entirely. As a result, rain water entered the door’s interior and was wicked out through the door card’s board backing, and additionally found its way into the door pockets. Both the door cards and the door pockets were warped beyond usability, and some of the hardware had started to rust. While investigating solutions for new door cards, I decided to spice up the interior a little, adding a bit more whimsy to the car in the process. What fun are cars if you take them too seriously?
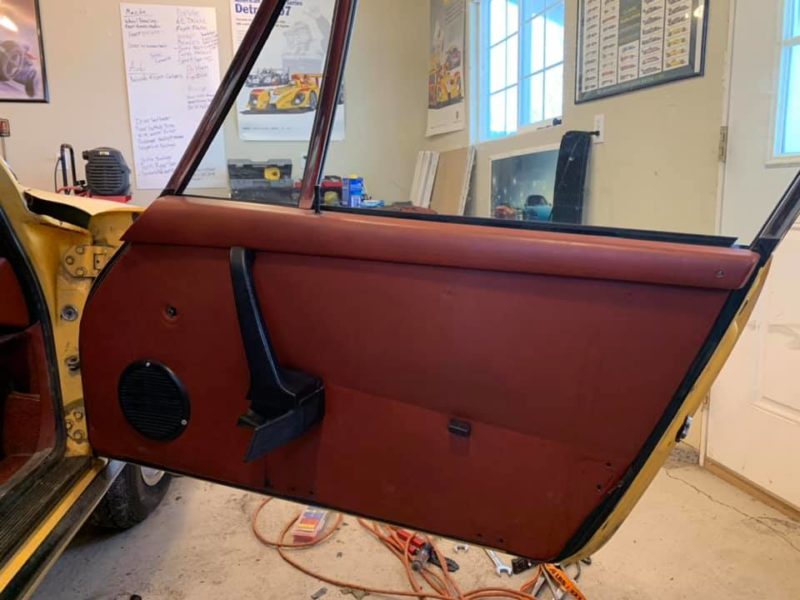
I’d taken the door pockets out a number of months ago, as they were saggy and didn’t hold anything anymore. The speaker grilles had been riveted to the door panel years ago, and even the door handle wasn’t in great shape anymore. Realistically, none of this was salvageable, so I had to wholesale start over. It’s a little simpler than it sounds.
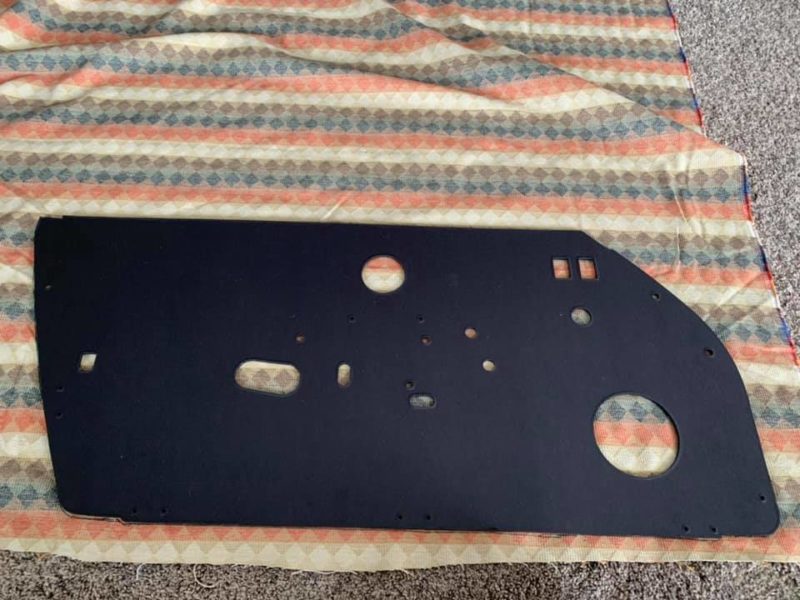
The first step was to order a door panel kit from AppBiz. I bought the later RS America-style DIY kit on eBay for about 350 dollars, and was pleasantly surprised by the quality of the parts provided. You can order a pre-finished kit for just over $600, but they’re only available in black, and I didn’t think that would fit the red interior of my car. The kit includes the door cards themselves, pre-fitted with a soft foam backing, and pre-cut with all of the holes you might need for your application. Also included are the door handles, the pull straps, all of the hardware, and a thick mil vinyl bag.
I ordered the jacquard material from Fabric.com on closeout for $17.55 per yard. I purchased four yards, but one probably would have been enough, and two would have been plenty.
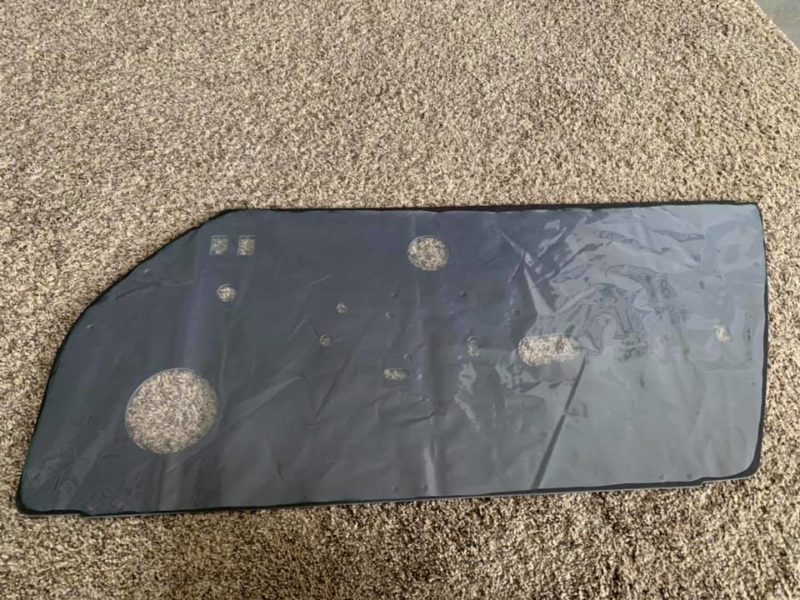
That vinyl bag was important, because it can double as a new door vapor barrier if yours is missing (like mine was). Simply lay the plastic bag out on your new door card and cut it to just slightly smaller than the door card itself.
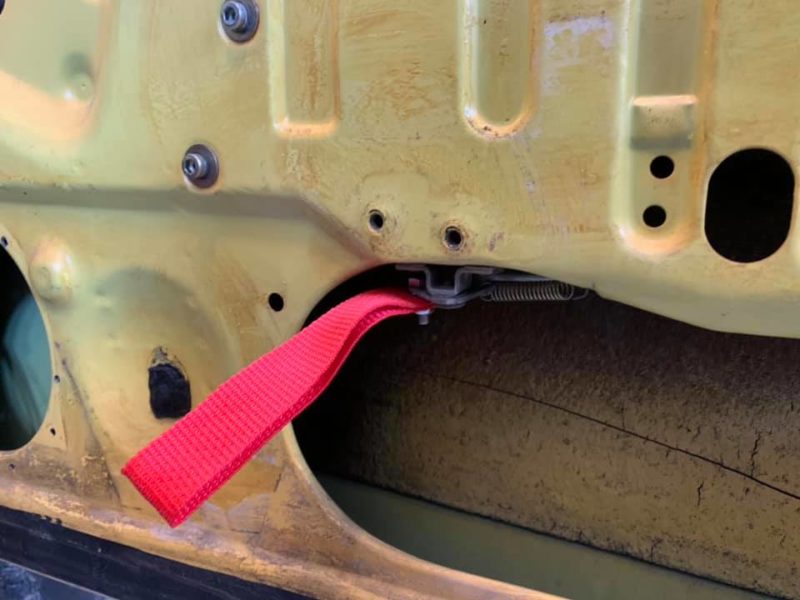
The first step on the door itself is to install the door pull release strap. This is a pretty simple installation with a nut and a bolt going through the mechanism on the door, as well as both halves of the grommetted strap.
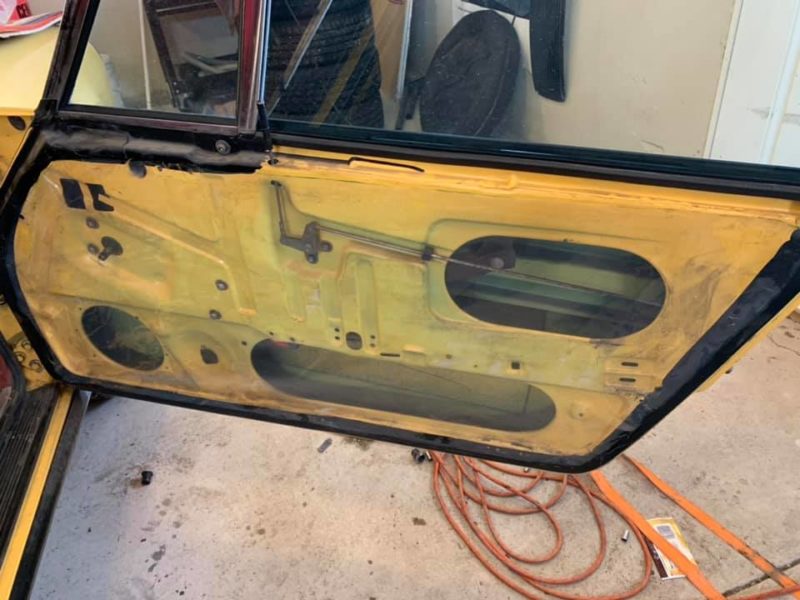
Once cut to the right size, I put it on the door with a few squirts of 3M spray adhesive. The addition of hardware and the door card itself will help keep it pretty water tight. From there, it was just a matter of cutting a hole for the window winder, the door speaker, and the door release pull strap.
Line up the door panel on the door, and mark off the mounting holes for the new RS-style door handle with a sharpie. Drill the holes into the door (make sure your window is up, or your drill bit will shatter the window when it breaks through the back side) just big enough for the collapsing bolt cage to fit into the door.
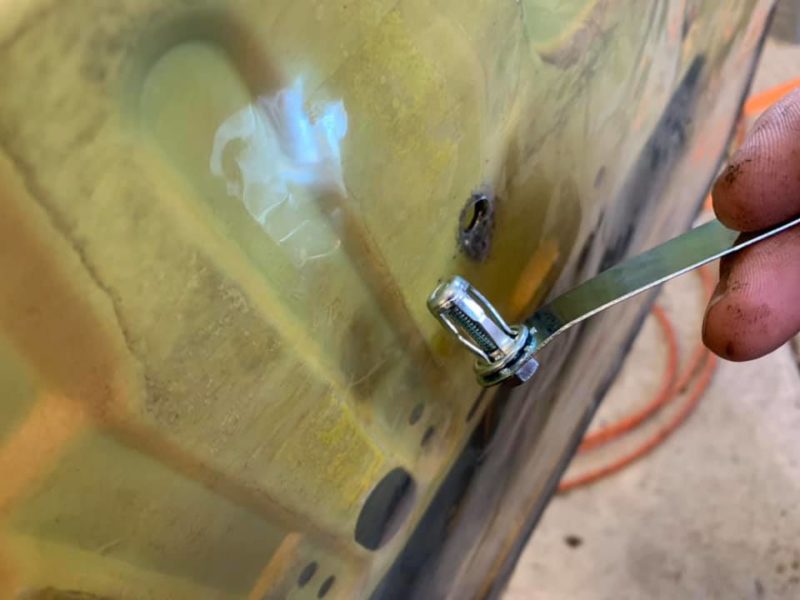
The kit comes with a special tool to get this job done. It’s pretty simple, but make sure the cage is fully collapsed before you install the door. I had one too loose, and it simply spun inside the door instead of tightening down. I had to start from square one on this step for one door.
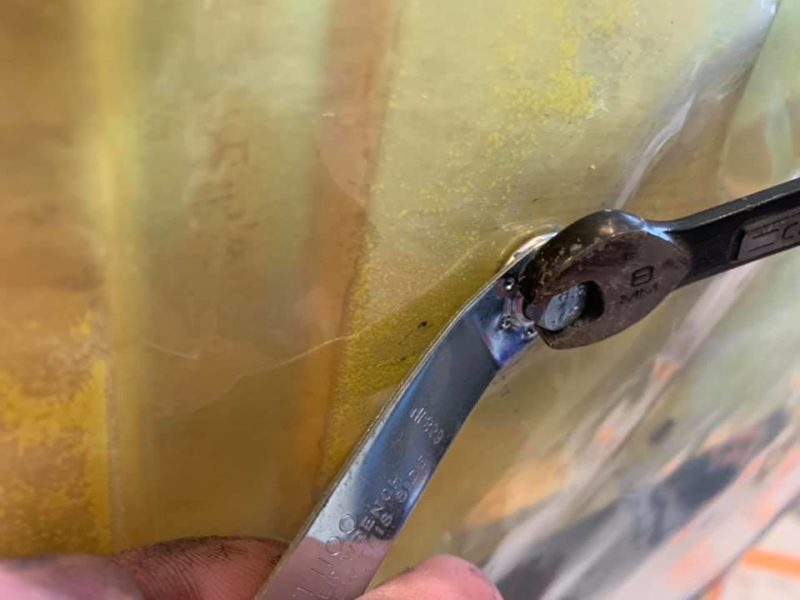
Once fully collapsed, this provides a new threaded hole for the door handle to attach to the door. Twice per door, and you’re ready to roll.
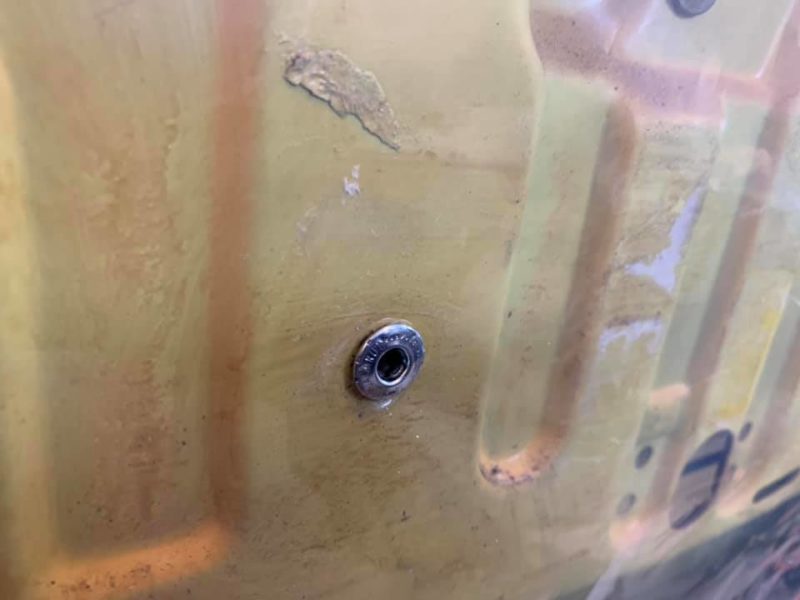
The door is ready for a panel, so it’s time to prepare the panel for the door.
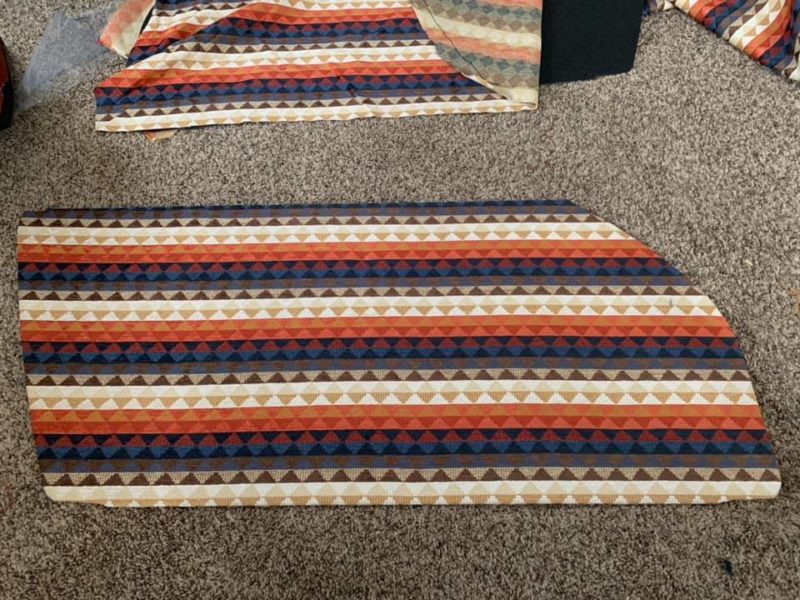
Again using the door panel itself as a template, mark out and cut the fabric to just a little larger—perhaps an inch on all sides—than the panel.
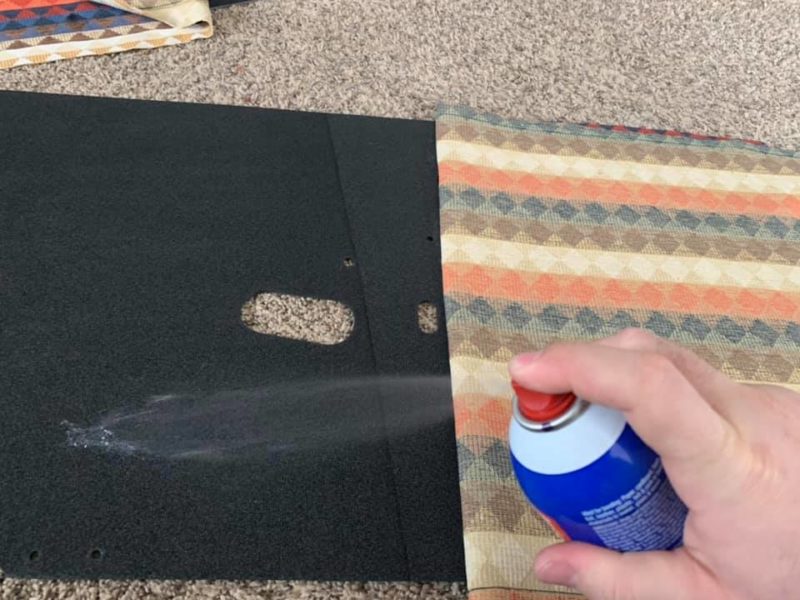
More spray adhesive is used to attach the fabric to the door card backing. You can fold the excess fabric over the edges and use the same glue to attach it to the back, or you can use a staple gun as would originally have been used by the factory. In either case, you can cut the folds off of the back of the door card so that there is only one layer of fabric backing. And you’ll want to make sure the screw holes at the very bottom of the door card are clear to the back as well.
Then you can cut holes in the panel for the things your car has. In my case, that would be for the window winder, the door speaker, the two door handle bolt holes, and a thin slit for the door pull.
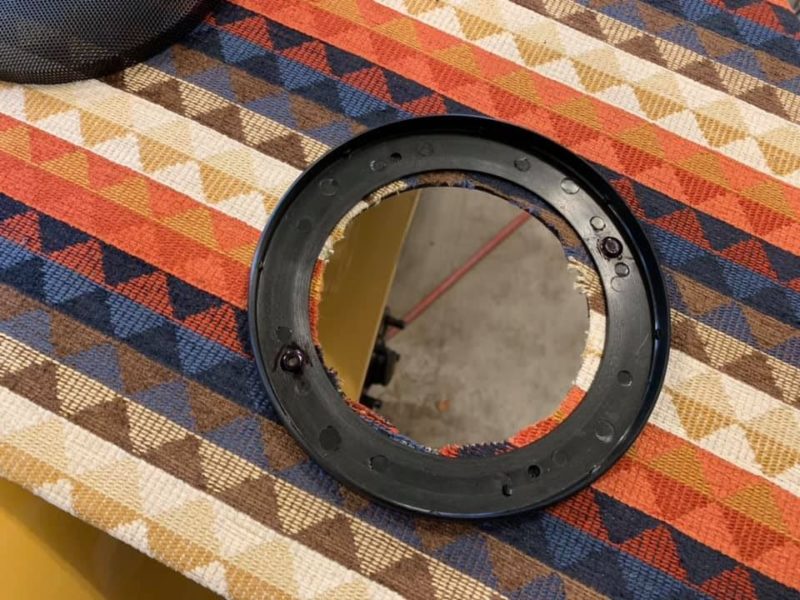
I again chose to rivet the speaker surround to the door card itself. This required a pair of holes drilled in the door card. I then colored the tops of the rivets with black sharpie to keep them from being visible through the speaker grille. The speakers themselves are bolted directly to the metal of the door, so this only needs to support the grille. I purchased this generic speaker grille set from Amazon at $12 each.
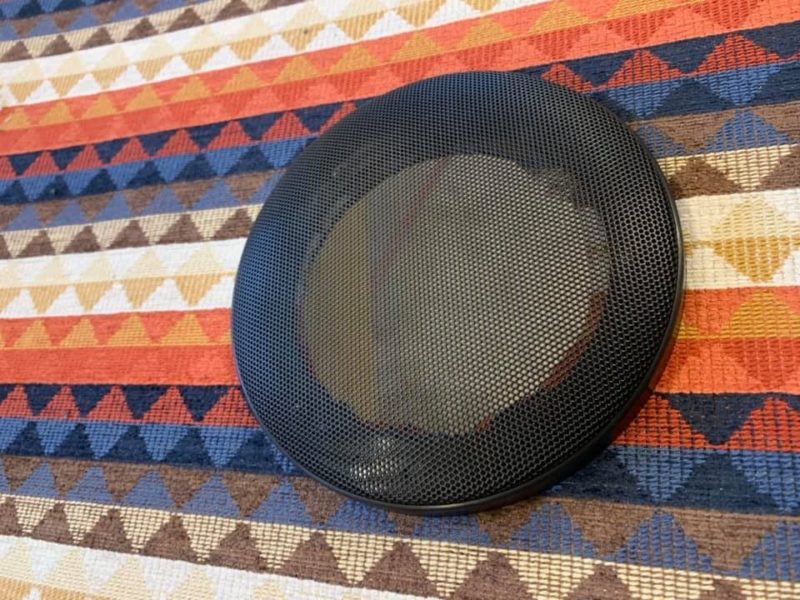
Once the outer speaker grille is installed, you can’t see much beyond the mesh of the grille. It’s a clean and inexpensive option for my application.
With the grilles installed, I put the door panel on the car with the included clips, then bolted on the new handle, reinstalled the window winder, put three screws into the mounting points at the bottom of the door, and re-fitted the padded vinyl door topper.
Obviously this can be re-created with any fabric, vinyl, or leather, should you choose. I went with a fun option for the heck of it, and really enjoy the finished product. It’s a simple and easy weekend project. In reality, from start to finish, it took me about five hours to do both doors. It’s a good kit and I highly recommend it.

RS-Style Door Panel Installation Costs
AppBiz RS America Door Panel Kit – $340 (via eBay)
Navajo Southwest Toluca Jacquard Fabric – $17.55 per yard x 4 yards (via Fabric.com)
4.5″ RetroSound speaker grilles – $11.98 each x 2 speaker grilles (via Amazon.com)
Total – $434.16
Door Panel Installation Weight Loss Total – The only real weight lost here was in the door pockets and the chunky rubber door handle. Maybe a couple of pounds.
