Last year we introduced you to our newest project car, called simply “Project Boxster Clubsport”. In that first installment we found the right car, we purchased it for a song, and it was sitting politely in our garage waiting for its first modifications. So far, the Boxster has been happy to simply rack up the miles and keep things rocking along. It’s an excellent Porsche, and we aim to make it just a little bit more excellent with each improvement.
Part 2 – GT3-Style Center Console Delete
Part 3 – LED license plate lights
Part 6 – Emblem Delete and Paint Correction
Part 8 – Short Shift Kit Installation
Before we get started we would need to thank Michelin. As many of you know, Michelin is a long-time sponsor of FLATSIXES.com. Recently, they have generously offered to sponsor Project Boxster Clubsport as part of their involvement with our site. Please consider checking out what Michelin has to offer by clicking their banners on this page. Without Michelin’s support, and others like them, this site really wouldn’t be possible.
Part 9
Since the advent of Porsche’s line of ClubSport models, part of the recipe has been a radio delete option. I like the idea of that, but at the same time I really like listening to music in the car. Project Boxster Clubsport does get drafted into daily commuter roles pretty often, so being able to listen to music is still preferred. So how do you drop a few pounds from the car while still retaining the option to listen to music? Well, as it turns out, the stock audio equipment is somewhat complicated and unnecessarily heavy, not to mention outdated and less than optimal for actually listening to music. Here’s how we lightened things up some.
Step 1 – New Speakers
The speakers in a Boxster are hardly what you’d call excellent. While Porsche now options Bose or Burmeister, which provide excellent audiophile sound, the cheap speakers loaded into a 1997 Boxster are hardly anything to write home about. The magnets are small, and they still used a paper cone. To those of you who don’t know, those are signs of a less than great speaker. So, the best way to get better sound in your Boxster is to replace those speakers. Unfortunately, it requires a little finagling to make work, as the original paper speakers were molded into the speaker housing, and didn’t have a standard mounting flange for a regular 3″ round or 6X9 or other speaker you can regularly find at the local Best Buy. This part of the upgrade can be performed whether or not you follow any of the other steps of this project, so for those who have a Boxster or 996 and simply want better sound, here’s your chance to do it yourself. There are a lot of steps to this part, and I found that the best way to figure it out was to follow this YouTube video. It’s really not that complicated, and anyone with a Dremel tool, a hot glue gun, and a soldering iron can get it done in just a couple of hours.
For the dash-mounted speakers, I ordered a set of Rockford-Fosgate speakers from Amazon, but any 4″ speaker will work. Some trimming of the mounting tabs may be necessary to glue the speaker into the binnacle.
Step 2 – Head unit removal
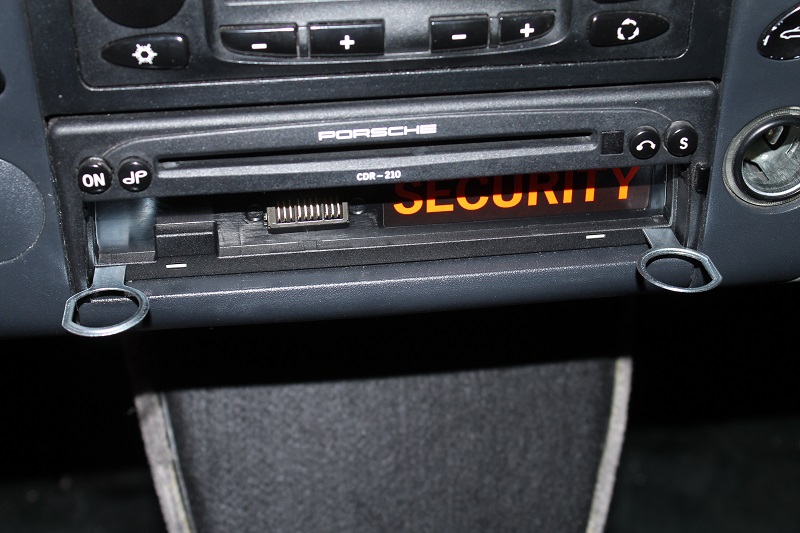
This is a simple but important step in the process. Removing the head unit requires special tools that are specifically for German cars. Most Porsche, Volkswagen, Audi, and Mercedes products require a set of special keys to facilitate stereo removal. In the case of the Boxster, one goes in either side of the unit, and they unlock the unit from the surrounding frame. If you’ll recall, back when we made our DIY GT3 center console delete, there was a small shelf that we held on to. Luckily this is the same exact unit used in 996 GT3 RS models with optional radio delete. and this shelf fits right in where the radio used to be. We’re not quite done behind there, but here is as good a place as any to mention that. If your Boxster or 996 was optioned with the CD tray instead of the open shelf, you can buy a brand new one for about $50 from a number of Porsche parts retailers with the part number 996-552-253-01-01C. The shelf simply slots in and does not require the radio keys to install or remove.
Step 3 – Amp and Speaker Removal
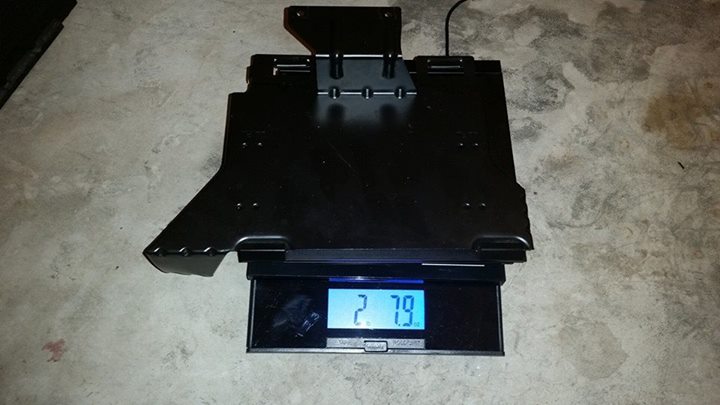
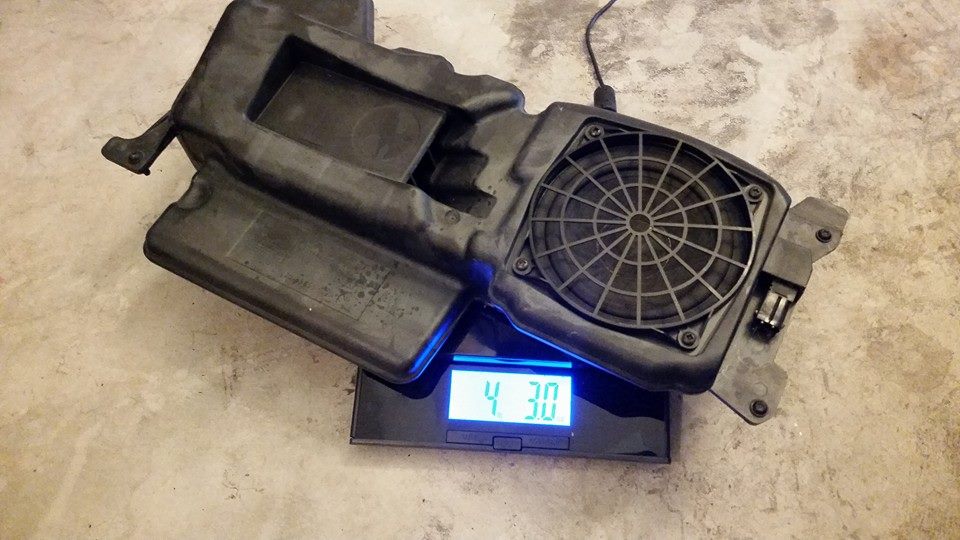
Another simple step. As we no longer need the stock amplifier, this is just dead weight in the front trunk of our car. A few bolts later and it’s gone. The door speakers, similarly, will not be used in this application. The weight was deemed unnecessary for our purposes, and they were chucked. Remove the door panels, unbolt them from the door, and throw those heavy beasts in the trash (Or sell them on ebay if they’re still in good working order. Ours, unfortunately, were shot.)
Step 4 – The new system goes in
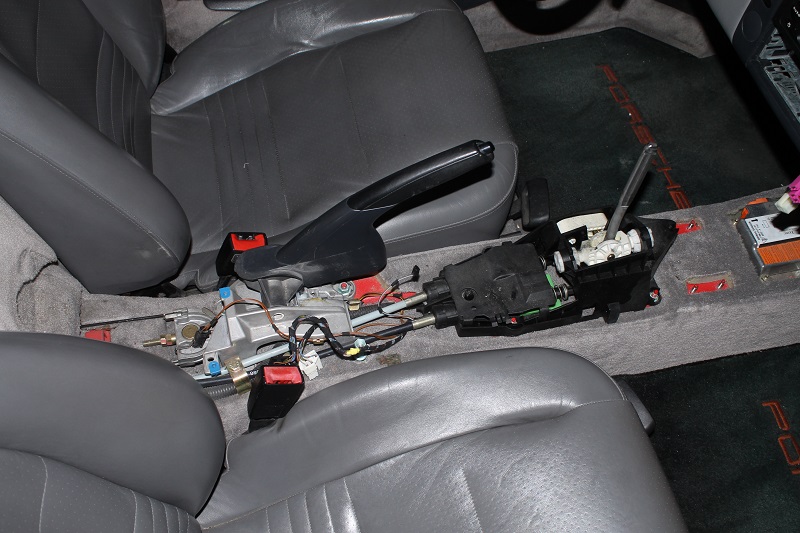
With the help of a whole lot of research and some minor advice from a few more savvy friends, I came up with a lightweight audio system that is simple to install and easy to hide. The entire thing can be hidden under the center console, and while we had the whole thing out for the short shift kit installation, we decided to get the audio done at the same time. Why not jump in while the water’s warm, right?
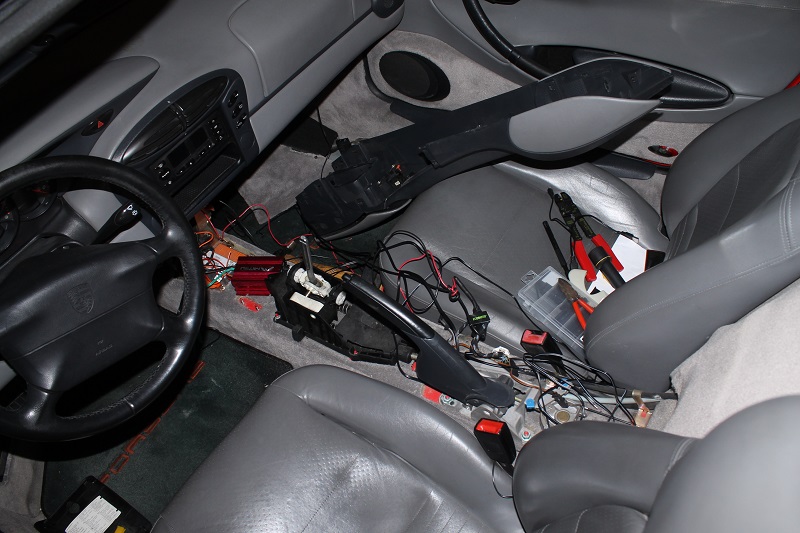
Using some parts that were originally designed for a motorcycle, we worked up a small amplifier system that was lightweight, and works perfectly for what we wanted. Being that CDs are so out of date, they’re best used for little chrome frisbees these days, and that we never listen to the radio because it’s predominately advertisements, most of our audio needs plug in with a 3.5mm audio jack. Pass me the aux cord, this project is about to go fire.
The first thing you need to do is to pull up a diagram of your car’s head unit wiring, and single out the ‘switched power cable’. This is usually an orange cable that goes into the large connector on the back of the head unit, and only provides power to the unit when the key is switched to the on position. To prevent our new system from draining the battery, this is the power cable you’ll want to use for the new amplifier.
The amp we chose for our purposes was a small “Mitzu 2-channel” usually used for cruiser motorcycles with a speaker on either side of the rider. It works great, and we’re very happy with the outcome, so it should work for your purposes as well. Once the Mitzu was wired in to our switched power cable, we secured it to the car under where the center console goes. Being that we don’t have the large shelf in the front anymore, there was plenty of room to mount ours on top of the airbag control unit. Then we had to run fresh speaker wire from each of the speakers down through the dash to the new amp. Being a two channel amp, there’s only a left and a right output. If you want to use the door speakers, you can also get a 4-channel amp and make that work as well.
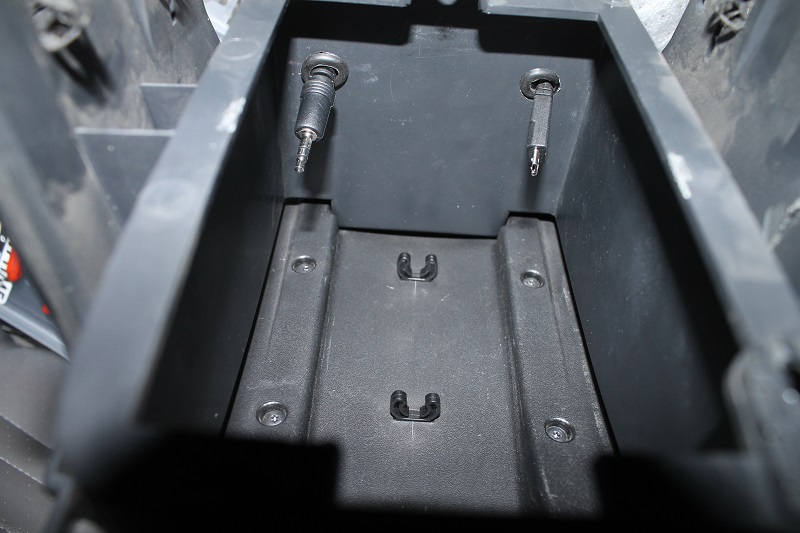
With the amp wired up, we then plugged in an RCA (red/white) to female 3.5mm cable and ran it to a standard male to male 3.5mm auxiliary cable. Then we drilled a hole in the front of the center console box to fit the new auxiliary input through. With all of those cables routed around the shifter, and secured so they won’t get in the way of anything, everything was ready to go back together. Or it would have been if we hadn’t continued on to step 5 to really make the project sing. With this system, we can plug in anything with a 3.5mm audio jack and play music through the car’s speakers. I personally use this to listen to podcasts through my smartphone, iPods on long road trips, or music apps like Spotify or Pandora. I don’t have to listen to commercials anymore, and every song is a song I actually want to listen to. No more hunting through terrible morning radio shock jocks to find something tolerable.
Step 5 – Power is everything
This step isn’t necessary to make your radio experience work, but it made our dashboard a little cleaner to look at, and made charging our devices a nicer experience. We drive our Boxster on trips to San Francisco, Sacramento, Monterey, and California’s Central Valley wine country on occasion, so it’s always nice to have good device charging capabilities. We’d been using the stock “cigarette lighter” 12v location to charge our devices, but we found it somewhat annoying to have to deal with charging cables hanging right where the shifter was, not to mention unsightly. Why not go the extra mile while our center console was apart to make sure it was done right.
With the radio and the radio delete shelf still removed from the car, it’s easy to remove the cigarette lighter socket from the dashboard, and feed it all as a unit out the bottom of the dash. The simplest way to proceed, for me, was to take apart one of those 12v USB charger adapter pieces and wire that directly into the car. Clipping the wires from the back of the socket, we then soldered them to the corresponding locations of the adapter. The whole ‘shebang’ was then placed in a shrink wrap cable tubing and sealed up. From there, I was able to plug in the desired USB charging cables (in my case a USB 3.0 cable to charge my Galaxy S5 and a Micro USB cable to charge my wife’s HTC One M8, and an adapter to charge our old iPods with the old 20-pin design). The hole now present in the dash where the 12v lighter used to be can be filled with a nice clean round cover, which is available for about 5 dollars from a number of Porsche parts retailers with the part number 986-552-543-00-B12.
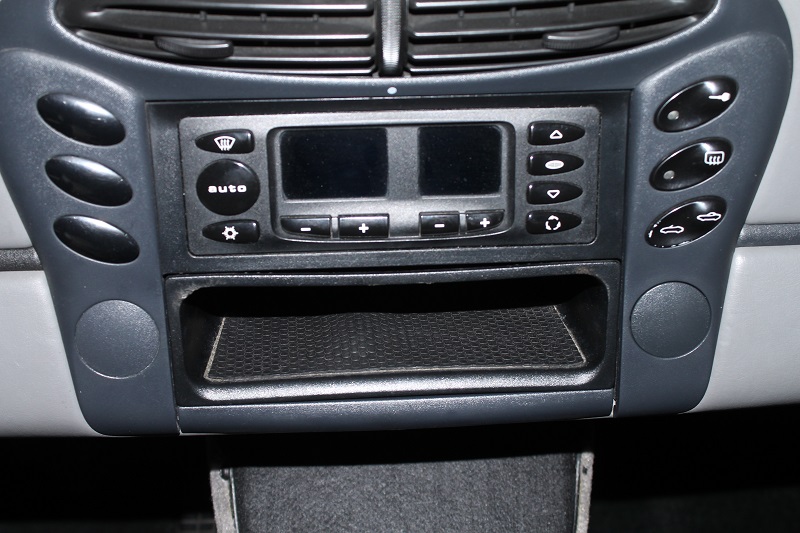
Those charging cables were then routed right alongside our audio cable through the center console, and out the same hole into the little compartment under the arm rest. Now, on my way to work, I can charge my phone, listen to music or podcasts, and I don’t have to worry about cables flopping all over the dash, or hanging up on the shifter. Besides that, the radio delete gives the interior a bit more of the ‘boy-racer’ look of the 996 GT3 RS.

Lightweight Audio Installation Costs
Mitzu 2-channel Amp – $39.99 (Amazon)
Rockford Fosgate R14X2 4″ Speakers – $29.95 (Amazon)
RCA to 3.5mm Female Cable – $5.13 (Amazon)
6-foot 3.5mm Male to Male Cable – $6.91 (Amazon)
Cigarette Lighter Hole Cover (Porsche part #986-552-543-00-B12) – $5.19 (Stoddard NLA)
12v USB charger – I had several laying around the house. Figure $10 for a good high speed charger.
Charging Cables – Again, we had a number of these collected over the years. Probably $20 or so for the pair.
Various cables, shrinkwrap, wire ties, zip ties, and cord management hardware – About $15
Total – $132.17
Lightweight Audio Project Weight Loss
Stock Becker CDR-210 Head Unit – 2 pounds 3 ounces
Front Trunk Amplifier – 2 pounds 8 ounces
Door Speakers – 4 pounds 3 ounces each
New amplifier added back in 10 ounces
Total – Just about 12.5 pounds lost
