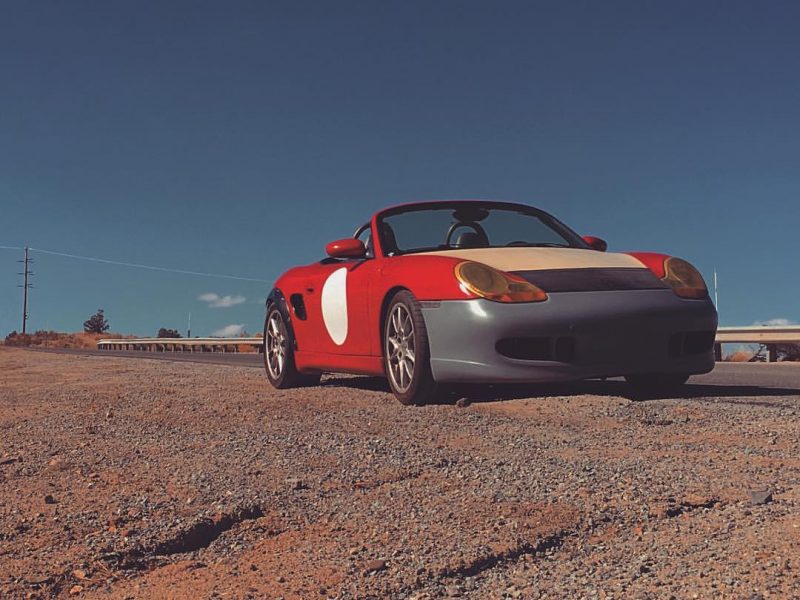
We’ve been wrenching on “Project Boxster Clubsport” for quite a while now, and it just keeps getting better. We purchased the Porsche for a song, and have been slowly making some moves to drop the car’s weight and add a little more fun. So far, we’re really happy with what the Boxster has become, even though the motion of the project has been halted and restarted in new directions a couple of times now. It’s an excellent Porsche, and we aim to make it just a little bit more excellent with each improvement.
Part 2 – GT3-Style Center Console Delete
Part 3 – LED license plate lights
Part 6 – Emblem Delete and Paint Correction
Part 8 – Short Shift Kit Installation
Part 10 – Big Brakes, Spacers, and Wheel Studs
Part 11 – Wheels and Michelins
Part 14 – Interior Door Handle Update
Part 18 – H&R Sport Spring Installation
Before we get started we would need to thank Michelin. As many of you know, Michelin is a long-time sponsor of FLATSIXES.com. Recently, they have generously offered to sponsor Project Boxster Clubsport as part of their involvement with our site. Please consider checking out what Michelin has to offer by clicking their banners on this page. Without Michelin’s support, and others like them, this site really wouldn’t be possible.
Part 19 – Correcting Toe With Rennline Control Arms
In the course of our H&R Spring installation last time, of course something else had to go wrong, as that is how DIY projects always go, right? Whether it was because we were tired during our late-night wrenching or simply not paying attention, both rear toe control arm nuts stripped out which, in-turn, ruined the threads on the control arm stud. With some research we discovered that Boxsters usually gain a little bit of toe-in when they are lowered. Perhaps this was a blessing in disguise, as correcting that toe would be imperative to retaining a neutral-handling car. Being that genuine Porsche rear toe control arms are somewhere around $220 dollars, we decided maybe it was time to upgrade. A simple call to Rennline was all that was needed to correct that issue, for only slightly more than the factory non-adjustable arms, we got some quality machined adjustable arms. While we were at it, we ordered a rear lower subframe brace, which we’ll cover in a future installment. This is how the install went.
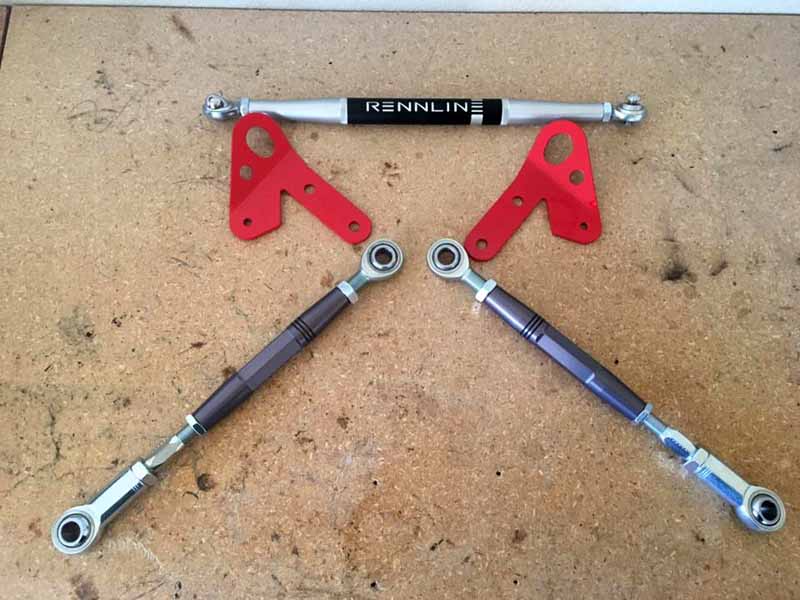
Step 1 – Removing the old arms
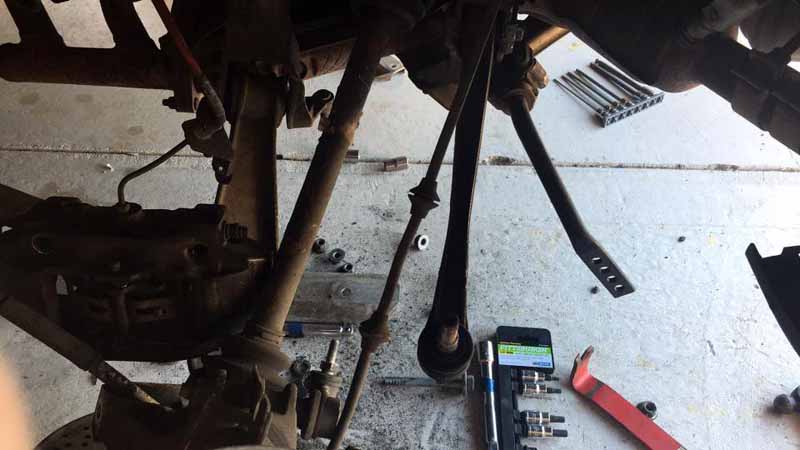
This was the easy part. Being that the bolts were already stripped out, we just left the arms disconnected from the ear on the suspension hub. From there, it was just a matter of taking the old toe-adjustment bolt out of the suspension pickup point and removing the arm from the car. The bolt is aimed square at a flange on the exhaust heat shielding. As you can see in the next photo, I had to bend this one to get the bolt out. The rubber bushing at the pickup point is also sometimes a little sticky, so slamming it with a rubber mallet might be necessary.
Step 2 – Installing the new arms
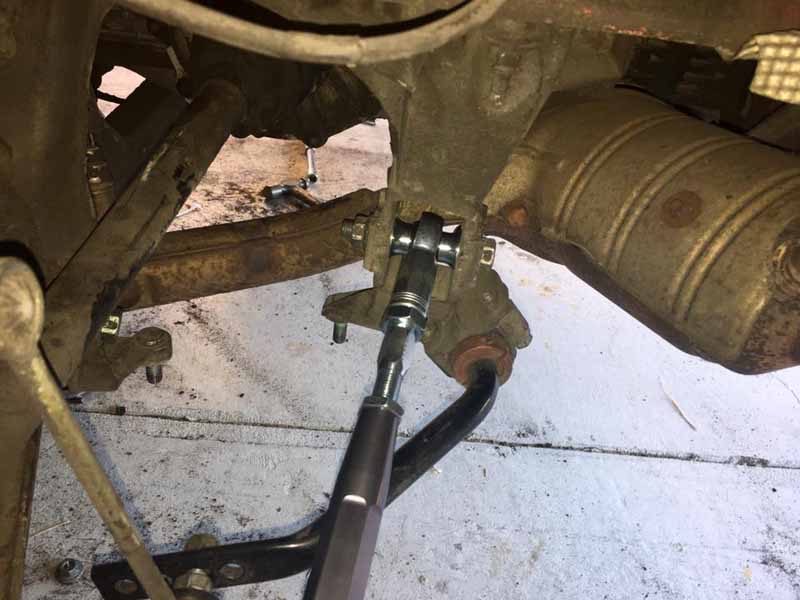
The arms come in a bunch of separated pieces, so it takes some doing to get them assembled. Luckily the included instructions are quite easy to read and simple to assemble. Insert tab A into slot B and all that. Once together, the arms bolt easily back into the spot that the old arms were removed from.
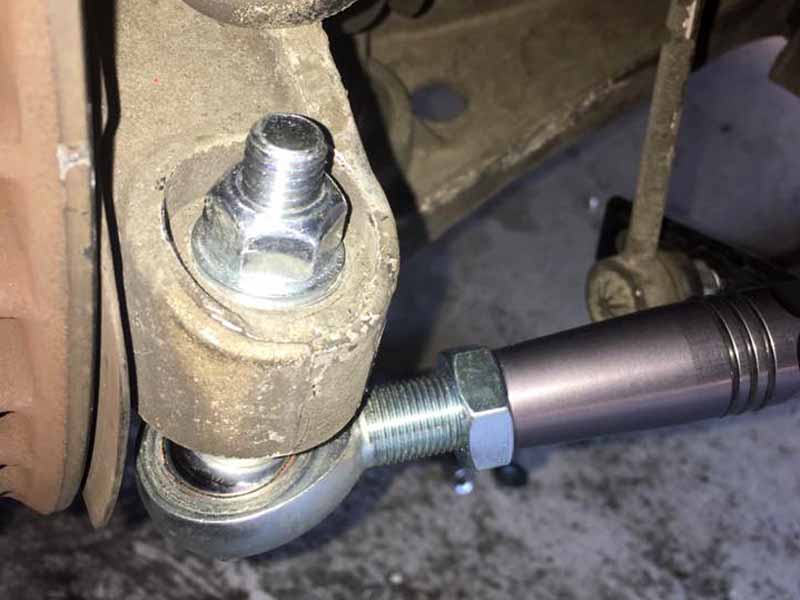
All of the parts are quality and everything in the kit appears to be precisely machined. It’s a good piece for the price, and I’m happy with the work Rennline has done here. I could not be happier with these, as they allow me to adjust the toe on the rear of our Project Boxster, negating the toe-in that has occurred by lowering the car. It’s a simple addition to the mix of suspension modification, but it’s a most welcome addition if you were to ask us.
A few more suspension pieces were added at the same time, so we’ll talk about that in a future installment of this column.
Rennline Adjustable Rear Toe Control Arm Installation Costs
Rennline Adjustable Rear Toe Control Arm Set – (S70.10.41) – $250.00 Per Side (New – Rennline.com)
Total Cost – $500.00
