Last year we introduced you to our newest project car, called simply “Project Boxster Clubsport”. In that first installment we found the right car, we purchased it for a song, and it was sitting politely in our garage waiting for its first modifications. So far, the Boxster has been happy to simply rack up the miles and keep things rocking along. It’s an excellent Porsche, and we aim to make it just a little bit more excellent.
Part 2 – GT3-Style Center Console Delete
Part 3 – LED license plate lights
Before we get started we would need to thank Michelin. As many of you know, Michelin is a long-time sponsor of FLATSIXES.com. Recently, they have generously offered to sponsor Project Boxster Clubsport as part of their involvement with our site. Please consider checking out what Michelin has to offer by clicking their banners on this page. Without Michelin’s support, and others like them, this site really wouldn’t be possible.
With the headlights handled, we’re stepping around to the back of the car and giving the Boxster tail light a different look. It’s so easy.
Porsche Boxster Tail Lamp Tinting
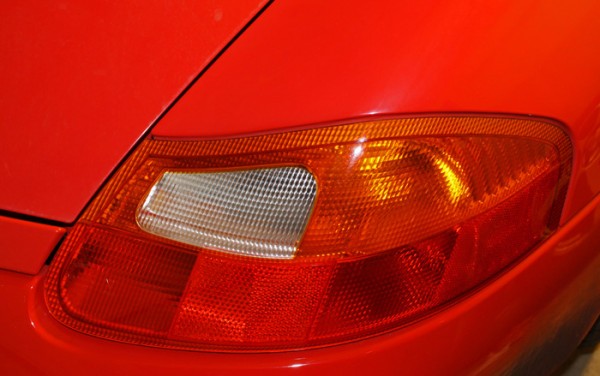
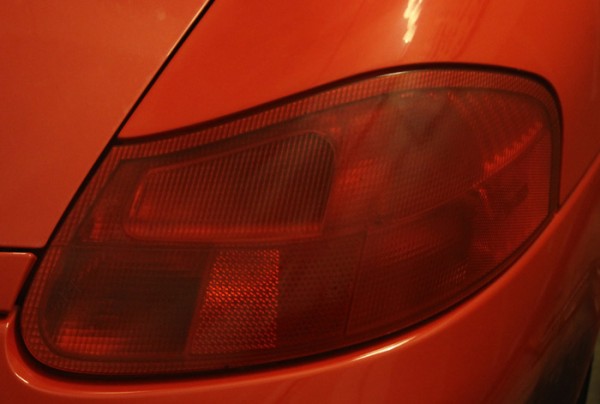
There are two parts to the 986 lighting system that aren’t exactly flattering to my eye. The first is the “fried egg” headlamp, and there isn’t much I can do about those at the moment. The second, is the incongruous amber-red-white early tail lamps. I’ve never been partial to these lights, and I decided that something had to be done about it. I wanted to tint the rear lights in a way that would still look quasi-factory, but provide the all-red light that I wanted.
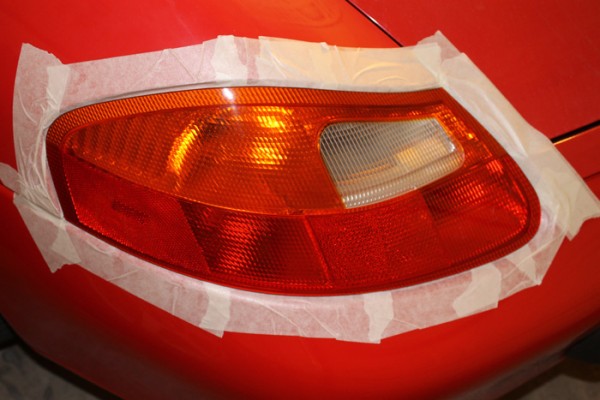
There are a couple of ways to do this project. The first way is to purchase some translucent red vinyl and apply that to the tail light lens. The other way, and the way I chose to go, was to use a translucent paint. I had complete similar projects on other cars in the past, and it turned out quite well. I also had some paint remaining in the can from those previous projects, which definitely influenced my decision to go this route. Confident that the Boxster would benefit from an “amber-ectomy” I started masking off the rear of the car.
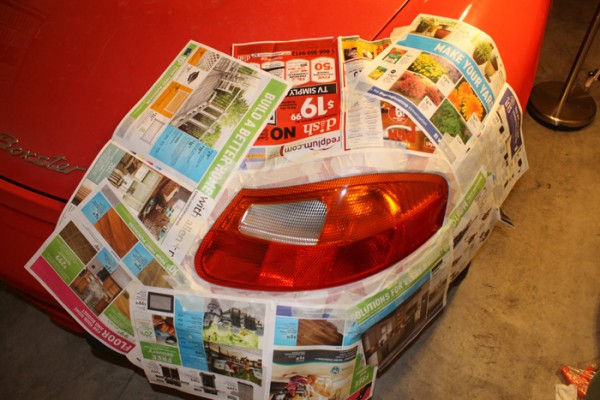
Unlike the headlights, you’ll want to mask off much more of the car, as you’ll be spraying paint and don’t want any of the cast-off to adhere and blemish the bodywork paint. I used newspaper that was laying around, but you can also get butcher’s paper, or similar, in order to mask this all off.
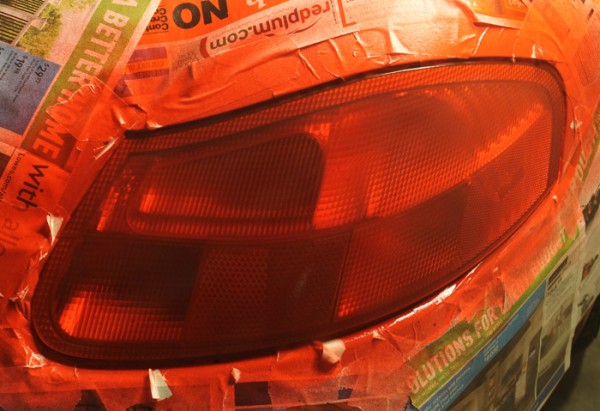
Once properly masked off, I sprayed about three coats of the paint. It may sound silly, but the paint used is actually Testors brand and intended for use in painting tail lamps on scale model home-assembly kits. In applications with plastic tail lamp lenses, the effect is similar, and works pretty well if you ask me.
After waiting a few hours for the lens to completely dry, I applied the same theory to the tail lamps as I had to the headlights. A quick run-over on the newly applied paint with all four grits of wet sanding, plus a few minutes of buffing with the power ball, and the rear lights look as though they had been installed that way from the factory. It was exactly what I was looking for.
This project may not be legal in all areas, so be sure to check your local laws before proceeding. Red turn signals are not illegal, but you may be required to have a visibly clear reverse light, so one compromise would be to mask off the reverse light section of the lamp before spraying the amber sections.
Tail lamp tinting project costs –
Testors Transparent Candy Apple Red 3oz spray can of paint (paint #1605) – $5 (Amazon.com)
Total – $5
In our next installment, we remove the decklid insignia, and try to give the paint a little shine.
