Last year we introduced you to our newest project car, called simply “Project Boxster Clubsport”. In that first installment we found the right car, we purchased it for a song, and it was sitting politely in our garage waiting for its first modifications. So far, the Boxster has been happy to simply rack up the miles and keep things rocking along. It’s an excellent Porsche, and we aim to make it just a little bit more excellent with each improvement.
Part 2 – GT3-Style Center Console Delete
Part 3 – LED license plate lights
Part 6 – Emblem Delete and Paint Correction
Part 8 – Short Shift Kit Installation
Part 10 – Big Brakes, Spacers, and Wheel Studs
Before we get started we would need to thank Michelin. As many of you know, Michelin is a long-time sponsor of FLATSIXES.com. Recently, they have generously offered to sponsor Project Boxster Clubsport as part of their involvement with our site. Please consider checking out what Michelin has to offer by clicking their banners on this page. Without Michelin’s support, and others like them, this site really wouldn’t be possible.
Part 11 –
As we mentioned in the last installment, we’ve got some new shoes for our little sports car project. They’re big, they’re sticky, and they’re so much fun! In the last installment, we mentioned that we’d got some wheel spacers, which were necessary to make our wheels fit without rubbing the inside lips on suspension components. There were a few minor fitment issues that we had to resolve, but we’ll get in to that a little later in this post. The important part is that we’ve got some interesting updates that haven’t really been seen before on a 986.
There were a few things inspiring our choice of tire:
1. We drove the Sharkwerks GT2 on Michelin Pilot Sport Cup 2 tires.
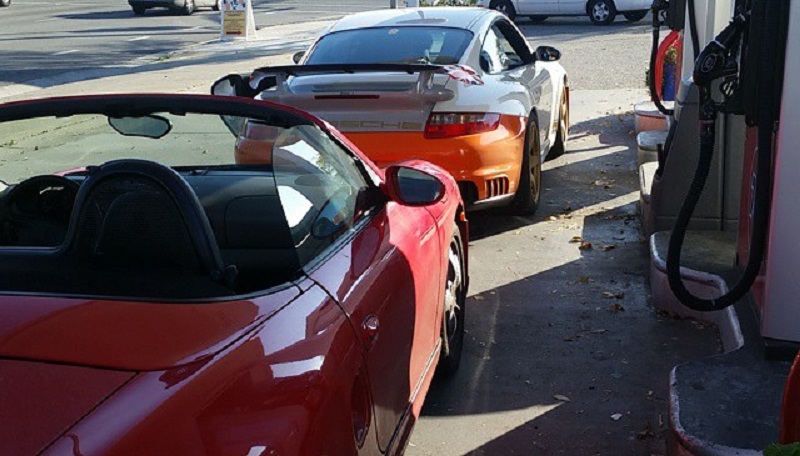
Project Boxster Clubsport met up with Sharkwerks’ GT2 Phase One last spring. This may have been the single largest influence on our decision to get a set of the same tires for our car. The GT2 is a larger, heavier, and much more powerful car than our little 2.5 liter 200 horsepower Boxster, but lateral grip is extremely addictive. Sharkwerks’ Alex Ross let us take the GT2 out for some mountain driving for a few hours, and it was exhilarating. While the power is phenomenal, what really surprised us was the car’s braking and cornering ability. Alex said that the car was previously equipped with an older set of Pilot Sport Cup tires, the precursor to the Cup 2, and it didn’t have nearly the same predictability, grip, or off-corner traction. Straight from the mouth of the source, the Sport Cup 2 tire literally transformed his car. That sounds like a compelling reason to me.
2. Porsche trusts the Pilot Sport Cup 2 as standard fitment on the 918 Spyder, GT3, and Cayman GT4.
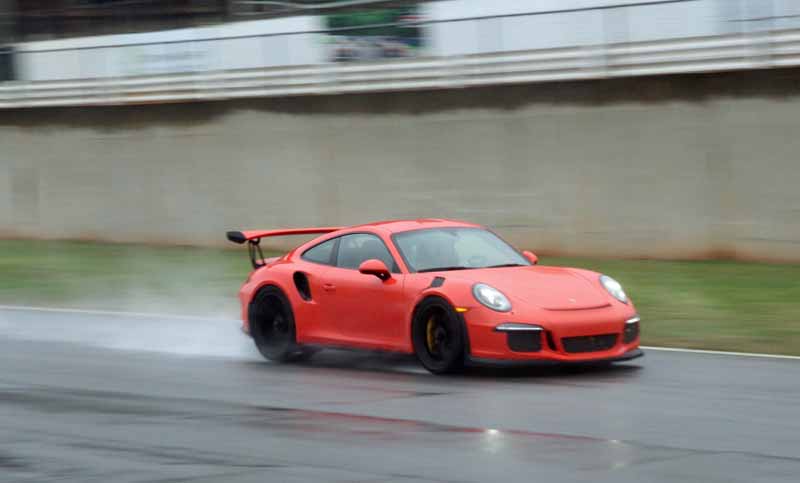
While we had not driven any of these cars until a while after our own Pilot Sport Cup 2s were already installed, and sadly we still have not had the privilege to drive a 918, we knew that the PSC2 would be a good choice if Porsche were using it as OEM fitment on some of their fastest and most exhilarating cars to ever reach the market.
Having now driven the GT4 and the GT3 RS with this tire equipped in the wet at Road Atlanta, we couldn’t be any happier with our decision. We’re pretty much convinced that this is the best high-performance sports car tire ever built. Not only do they grip as though they and the road were made of Velcro, but they also last a lot more miles than their direct competition.
3. Our old tires were on their last legs, and were marginal at best to begin with.
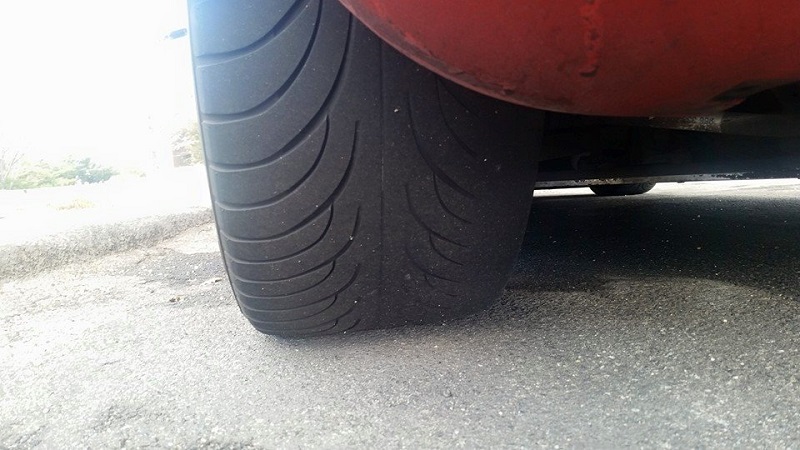
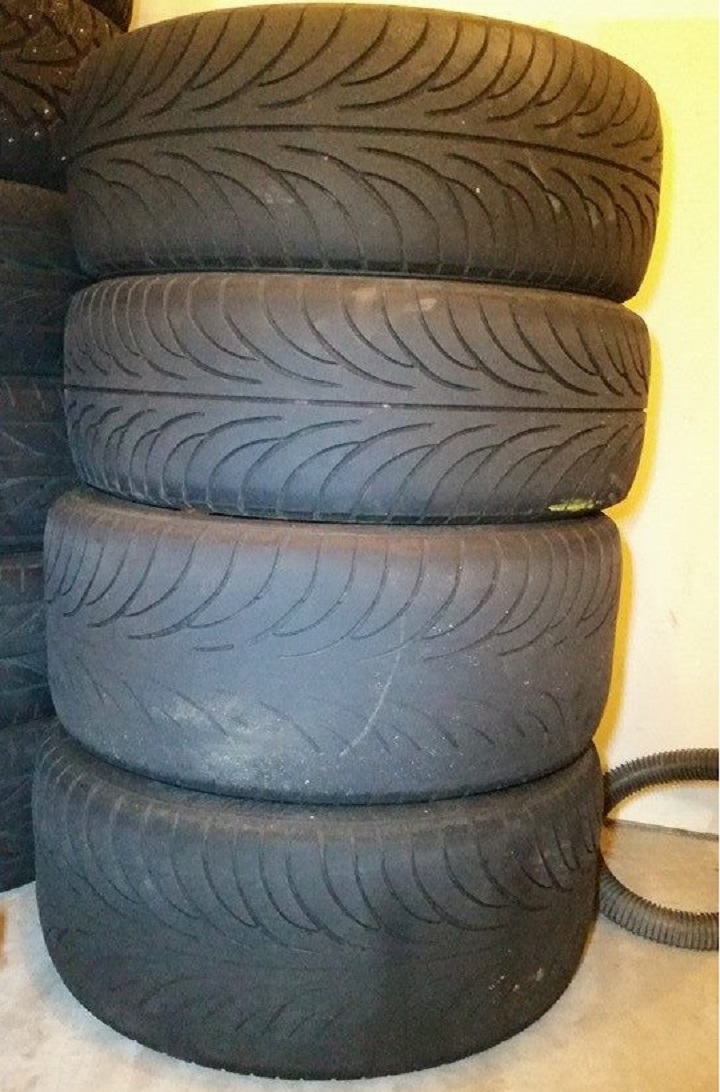
The car, as purchased, came on a set of mostly-used Sumitomo HTR-Z II tires. They were good enough for one more summer and the following spring, but by the time we needed tires, we really needed tires. The rears showed a good amount of camber wear, and tread depth was wearing quite thin. It was to the point that I wouldn’t take the car out on rainy days any longer, because the rires were almost slicks and I didn’t want to endanger myself or anyone around me. The front tires still had a bit of life left in them, but Sumitomo has since replaced this tire with the HTR-Z III, so matching sets could not be sourced. Besides, this project is brought to you by our working relationship with Michelin, so we couldn’t exactly have a different brand of tire on there, could we?
4. Michelin is one of the sponsors of this project.
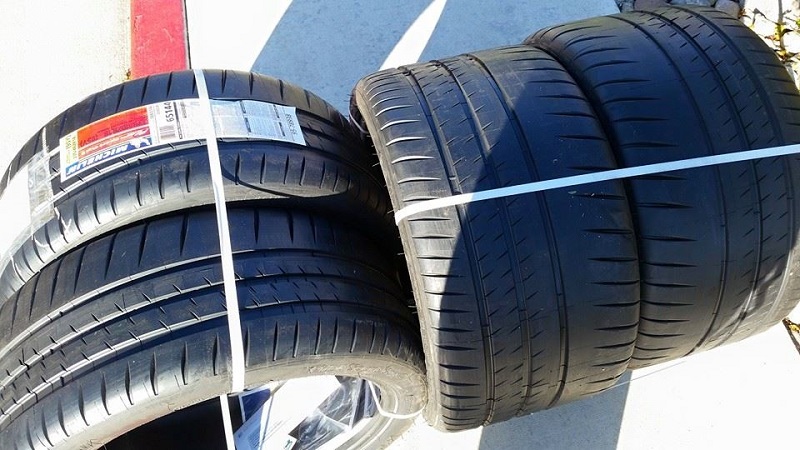
When we announced this project, our friends at Michelin asked how they could help, and naturally we wanted an opportunity to try out the best of their best. A few days later, we had a set of tires sitting in our driveway ready to mount. Not only do they make great tires, but they are great people who are easy to work with!
Anyway, lets get on with the actual work.
Step 1 – Measure Twice, Cut Once
At the very beginning of this project, we were looking for the optimal wheel and tire package to fit as much rubber under our car as we could. There isn’t much information out there regarding modifying 986s, as most owners are happy enough to leave well alone and drive their stock Porsches. As these cars are coming down in value, and we got a bargain on ours, we were looking to do something a bit unique, and for some of these projects we’re almost acting as guinea pigs.
Our car left the factory with 7″ wide 17″ diameter wheels in the front and 8.5″ wide 17″ diameter wheels in the rear. The common numbers that we’ve seen online indicate that an 8.5X18 wheel will fit without issue in the front. In the rear, things get a little tighter and the absolute widest that will fit is a 10X18, and even then it really depends on the tire fitted. In most cases a 10″ wide wheel from a 996 Turbo or similar will fit, provided a spacer is used. With some research, we ordered a pair of 8.5X18 ET52 wheels for the front with no spacers, and a pair of 10X18 ET54 wheels for the rear with an 8mm spacer. This was not our final setup, unfortunately.
Step 2 – Choosing Wheels
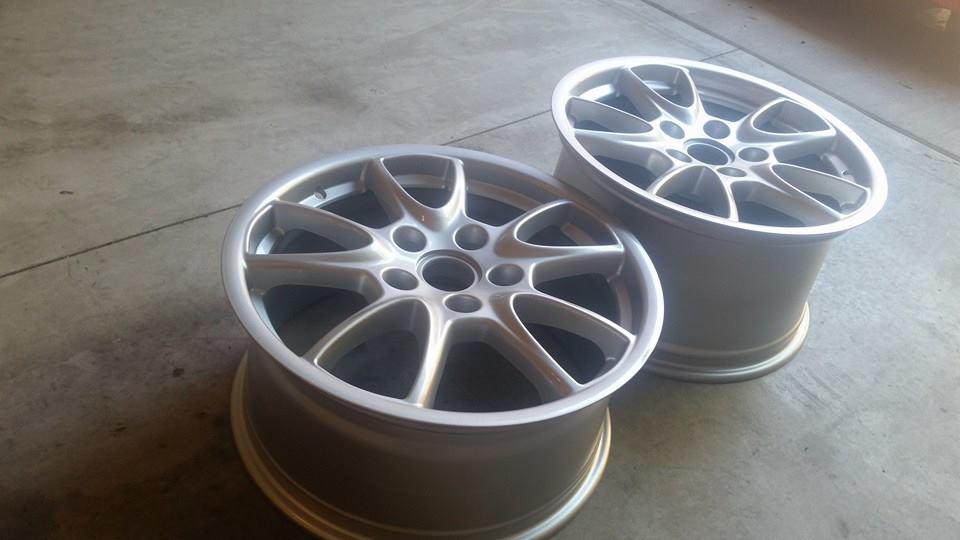
I’m not usually one to advocate an aftermarket “replica” wheel, but in this case, I chose to try them out. Being that we were looking for an OEM+ style of modification to our Boxster, we wanted to choose an already existing wheel design for our upgrade, and chose the 996 GT3 10-spoke wheel for its simple elegance. The problem with that is two-fold. First, the 996 GT3 wheels are quite rare, and when they do come up for sale, they are often worth about as much as our entire car. Second, GT3 wheels were 10.5″ wide in the rear.
Luckily, the wheel brand Euromeister makes a very nice exact copy of the long-discontinued GT3 wheel design that would work for our needs. Euromeister amended the design to use a 10″ rear wheel in order to widen the range of cars that these wheels would fit. With a 10″ rear, they can now offer these wheels to 964 and 993 owners, as well as Boxster owners, provided a spacer is used. They look great, and this is exactly what we were looking for. The buy-in price being much less than a used set of OEM wheels was an excellent bonus. We’ve had them on the car for a few months, and they seem to be working great. They accept a stock center cap, and they seem to be made pretty well. Will they hold up to track days? How will they handle occasional potholes? I guess we’ll see.
One thing to consider when choosing wheels is the manufacturer’s recommendations. Our Boxster is a first-year car, a 1997 model. Porsche states in their literature that it is not recommended to use any wheel larger than 17″ in diameter on a 1997 model year car. For 1998, Porsche added additional rear chassis stiffening that was not specified for 1997, and as such, there may be complications with a taller wheel and tire package. If you have a 1997 and would like to use an 18″ wheel, you’ll have to source chassis braces at least for the rear of the car. It’s not a terrible idea for later cars, either. We’ll chronicle our chassis brace decisions in a future installment, so look for that soon.
Pro-tip: Sign up for Automotion’s e-mail list, as they send out promotional discount codes almost every weekend. We got our wheels at a 20% discount because we were patient and waited for the right sales promotion.
Step 3 – Mount Up!
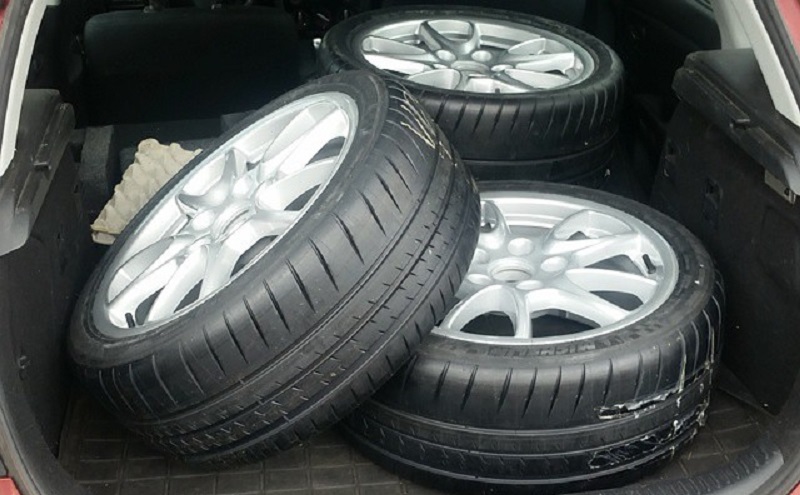
A call to our local Porsche-nuts at Reno Rennsport had an appointment for our Michelins to be installed on our Euromeisters. I loaded four wheels and four tires into our generic Japanese hatchback parts hauler and took everything down to their shop. When I started unloading them, a few of the shop folks asked questions about the setup.
Them: “This is a pretty wide setup, what is it going on?”
Me: “A 2.5-liter 5-speed 986.”
Them: Wide-eyed silence
That’s about the reaction I was expecting. 245/40-18 front and 295/30-18 rear tires are very large for a 986 Boxster. Wider than anything I’ve ever seen. As it turns out, that’s with good reason.
Step 4 – A Minor Setback
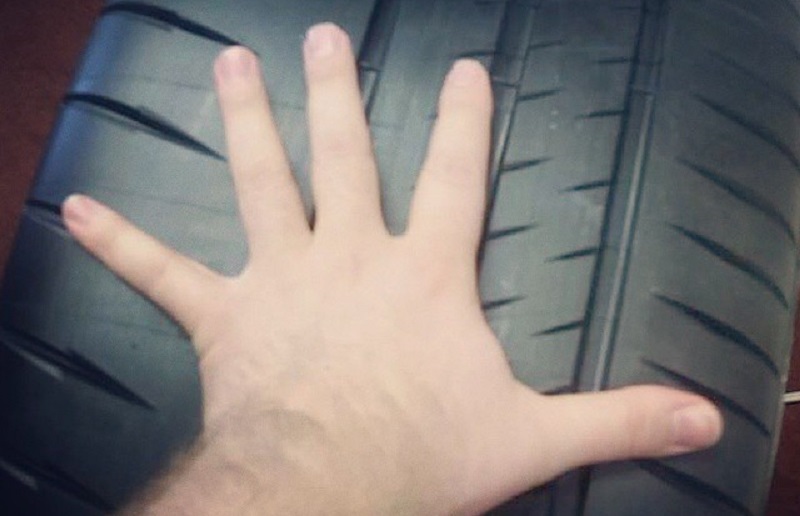
Remember the part where I mentioned that a 10″ wheel will fit in the back of a Boxster, provided a spacer and the right tire? Well, our tires are too wide for that. It would seem that a 285 section width tire is about the widest you can go, so our 295s were too much for the chassis. With our 8mm spacers, the inside of the tire interfered with a chassis brace. The two masses wanted to occupy the same space, and that’s just not possible. The options were few, but rather than cut out some chassis bracing from a car that is already a little bit lacking in that arena, we opted to purchase a wider set of spacers to push the wheels out just a little more. We didn’t need much more space, and as such opted for a pair of 12mm spacers.
Step 5 – Wheels Mounted, Let’s Drive!
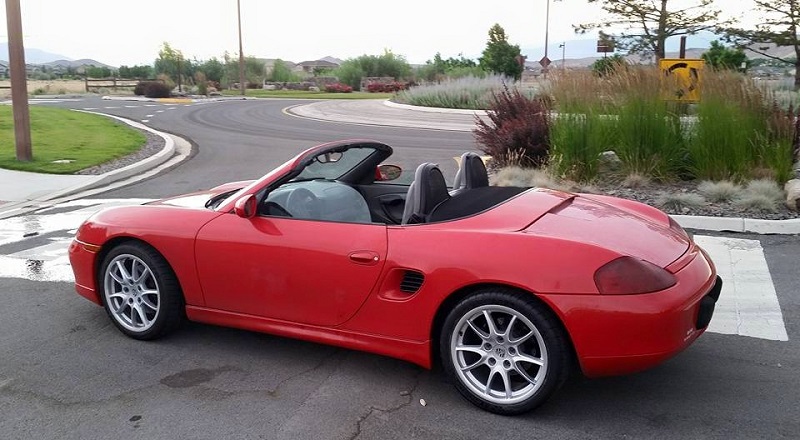
Once the new spacers came in, we put the 12mm version on the rear of the car and moved the 8mm spacers to the front. The front spacers were not necessary for fitment, but they do make the car look just a little nicer. Since we already had them, why not use them? Bolting up the wheels, everything looked great, and we were excited to get on the road. Time for a test drive.
For a couple of days, we drove the car on our daily commute with the new wider and stickier wheel and tire combination installed. It didn’t take long to find out that something still needed tweaking. Unfortunately, because of the extra width of the tire, and the extra 4mm of the spacer, the shoulders of our new Michelins stuck out past the fender opening by just a few millimeters. This was enough to cause a rub or scrape on seemingly every bump or dip the car ever went over. This is still with the car at stock-height. Our plans in the near future involve lowering the car another inch or so, and it was clear that this just wouldn’t do. Something needed to be done to make the fender clear the tire. That’s another story for another installment, so here’s a preview of coming attractions.
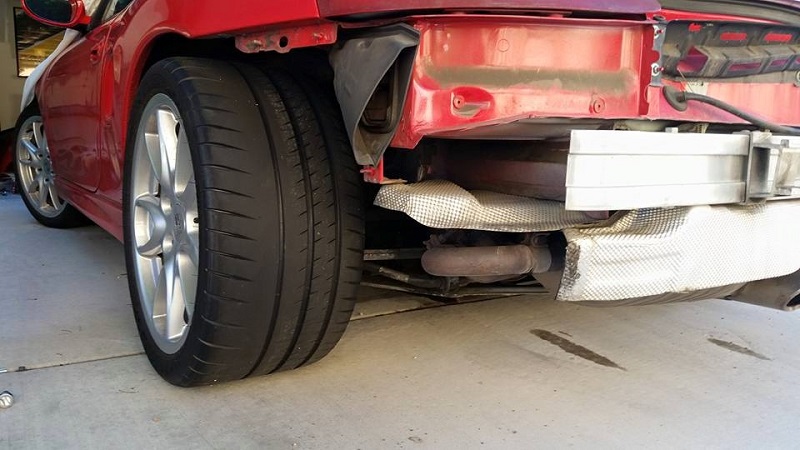
This Project Boxster Clubsport is coming along quite nicely, and we’ll have plenty more in store for you in the future. If there is something you’d like to see us do, or if you’ve done something similar, please feel free to comment below.
Wheel & Tire Upgrade Project Costs
Euromeister 8.5X18 ET52 Front Wheels (65-243593-1) Pair – $401.98 (Automotion.com)
Euromeister 10X18 ET54 Rear Wheels (65-243594-1) Pair – $423.98 (Automotion.com)
Shipping – $80
Tire Mounting and Balancing – $150
Total – $2610.84
